Print
Showing posts with label canvas. Show all posts

23 September 2020

The Journey for Bee Arty

Hello and welcome 💙

Today I'm sharing a project that is now sitting next to my bed.  I had a little 8x8 frame which was perfect for this project.


For the bottom plaque I first added a coat of Heavy Black Gesso.  After I let this sit for a minute, I used a baby wipe to remove the excess from the top and sat it aside to dry.  I then added a little Heavy White Gesso to this.  The reason I added the black first was to darken the quote and allow it to stand out more.


I took a little wooden heart and coloured it with water and Peacock Shimmer Dust.  I did a really concentrated layer and heat dried it.  This gave that really dark shade and I used a baby wipe to remove a lot of the colour.  This has given the heart a nice rustic type look.


I have used Bling Embossing Powder to colour some wings which have been made with paper clay.  To colour the little balls I put in the bottle, I used a little dry Shimmer Dust.


The metal key and birdcage have been coloured with Heavy White Gesso.  All these have been layered up with a few stars and balls and lots of matte gel.


Hope you've been inspired 💙


post signature

09 September 2020

Heart and Soul for Bee Arty

Hi there.  Today I'm sharing a canvas that I created with Bee Arty goodies.


The base of the canvas has been coated with Heavy White Gesso and a few pieces of torn book paper has been added.


I have some flourishes that I made with a mold and some paper clay.  A coat of Heavy Black Gesso has been added to these and once dry a layer of Sienna Colour Paste.


The flourishes have then been adhered to the middle of my canvas and some different sized balls added around these.  To colour these I have used a little water mixed in with some Peacock Shimmer Dust.


It was really hard to capture the beautiful shimmer of the Sienna paste and it's perfect over the black gesso.
I also added some shimmer to the wings with a Clear Shimmer Pen.


The little heart in the middle is a left over from a previous project.  If you'd like to see how this was made click on the photo below.


Hope you've been inspired 💙


post signature

11 March 2020

Today is Full of Possibilities, with Ros Aggett-Madley

Hi, thank you for joining me today.


I keep any packaging that I see creative possibilities with.  Not normally something used with food, but I couldn't help myself.  It was the bottom of my sons pizza before it went in the oven.  It was super clean and I could picture heaps it could be used for.


I started by removing a little of the top cover and applying some White Heavy Gesso, not all over but a fair portion of the surface.  I then added some Colour Blast Paste in Sienna and Deep Water.  I sat aside to dry over night and returned to the most beautiful shimmery goodness.
I have used one of the stamps from the Meridian Stamp Set to add a little stamping around the background.


I have then added some molding paste through the Interwoven Stencil.  Without removing the stencil, I sprinkled over some Dusty Charcoal and Snow White Embossing Powder first.  The reason I didn't remove the stencil first was because I had previously used the Colour Blast Paste.  This can have a slightly tacky feel and I didn't want the embossing powder sticking anywhere but where the stencil had been.  Once removed I heat dried the molding paste and embossing powder to get a nice puffy look.
To start my cluster and focal point on my piece I have die cut some black card with the Geo Direction Die.  I made 2 pieces and top and tailed them on the card and then just layered up some embellishments.


One of the butterflies has been stamped for the New Dawn Stamp Set and heat embossed in black onto vellum.  Once cooled, this has been turned over and painted on the back with Colour Artist Ink in Calypso and Mermaid.  I used a paper towel to paint it and have then cut the butterfly out.


The other 2 butterflies have been die cut in black with the Butterfly Effect Die.  These have been heat embossed with Snow White Embossing Powder for a pretty shimmery look.  I did one half of each butterfly at at time to save burning my fingers.


Hope you've been inspired 💙

post signature

26 February 2020

Life is Full of Beauty for Colour Blast by Bee Arty

Hi everyone,
today I'm sharing a tiny, tiny canvas, tiny like 10 cm tiny.


I started with a coat of White Heavy Gesso.  Once dried I've added a wash or water and Peacock Colour Shimmer Dust.  I wanted quite a pale background, so while it was still wet I have swiped across the surface with a paper towel.

Next I added some stamping with the Geo Grunge stamp set, making sure not to forget to do some of the edges.
 To add some texture to my background, I mixed some molding paste with Deep Water Mica Powder.  This has been used with the Scripted Stencil and then randomly spread over the surface with a palette knife.
While the paste was still wet I have sprinkled the top with some distress glitters, fairy dust and micro beads.  I left this overnight to dry.


I made a flower and some leave with paper clay and painted these with Shimmer Dust and water.  I stated with the lightest colour, Peacock, then in some of the grooves added Cobolt.  The Midnight was painted with a fine brush just around the top of the petals.


The leaves were painted the same, a layer of Paris and then some Lush.  While the leaves were still wet, I dropped a little of the Midnight and water mix onto them and this flowed down into the grooves.


Over the black edging i have added some Antique Shimmer Pen with a little Clear Shimmer Pen to the leaves.


Hope you've been inspired 💙

post signature

02 December 2019

Not really a christmas canvas for Scrap FX

Today's project is not what it was meant to be.
I was so excited to order the Decorative Antlers when I saw them.  I have made Christmas canvases in the past and thought they'd be perfect for another.  Thing is, once I started building up layers, it turned into an everyday piece.
The antlers have been coloured with posca pens and the Mini Feathers have been heat embossed with shabby chic embossing powder.
I used a sharpie and posca pen to add the ears and eyes with the Create a Unicorn stencil.
If you look between the the antlers you can see that I have lightly stamped in grey ink the Chicken Wire stamp.  This was just to add a little more interest to the background.
I has all been build up with die cuts and flowers from my stash, with no holly or red nose anywhere.
Mini Feathers

post signature

02 July 2019

Unicorn canvases for Scrap FX

Hello everyone, today I am featuring one of my favourite stencils from this months release.
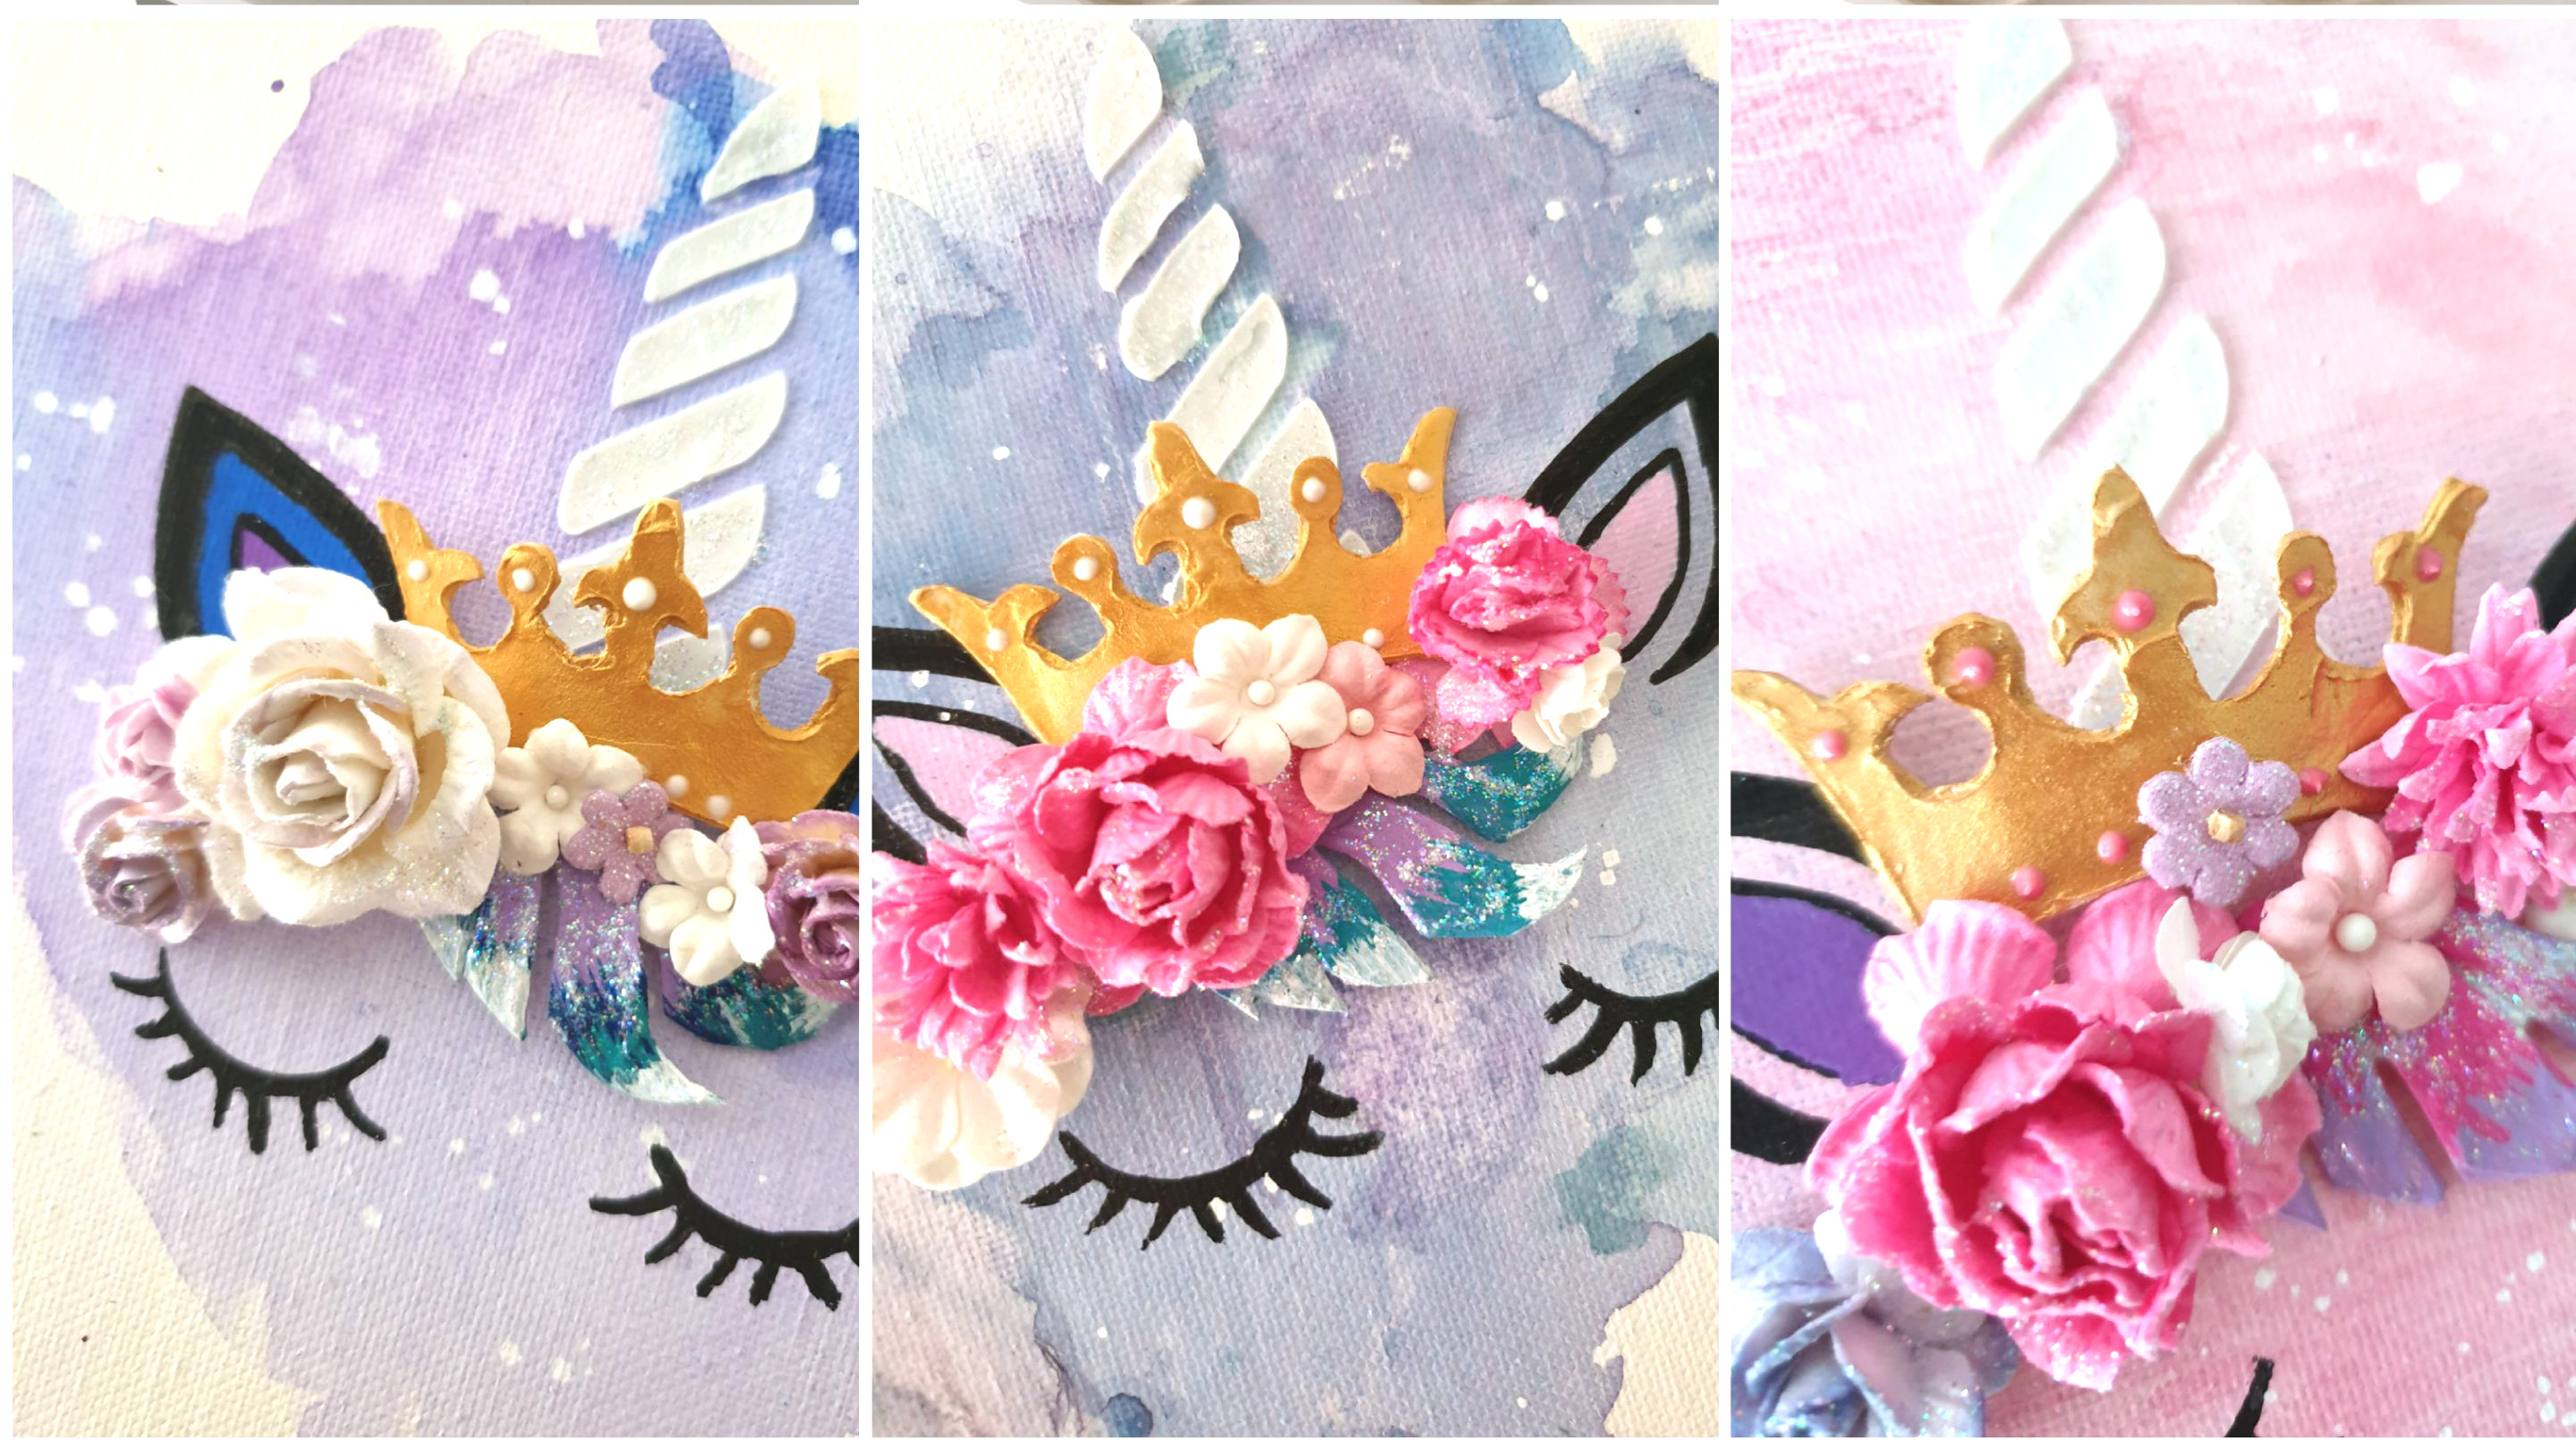
I've made 3 little canvases with this one stencil but have used it a few ways.
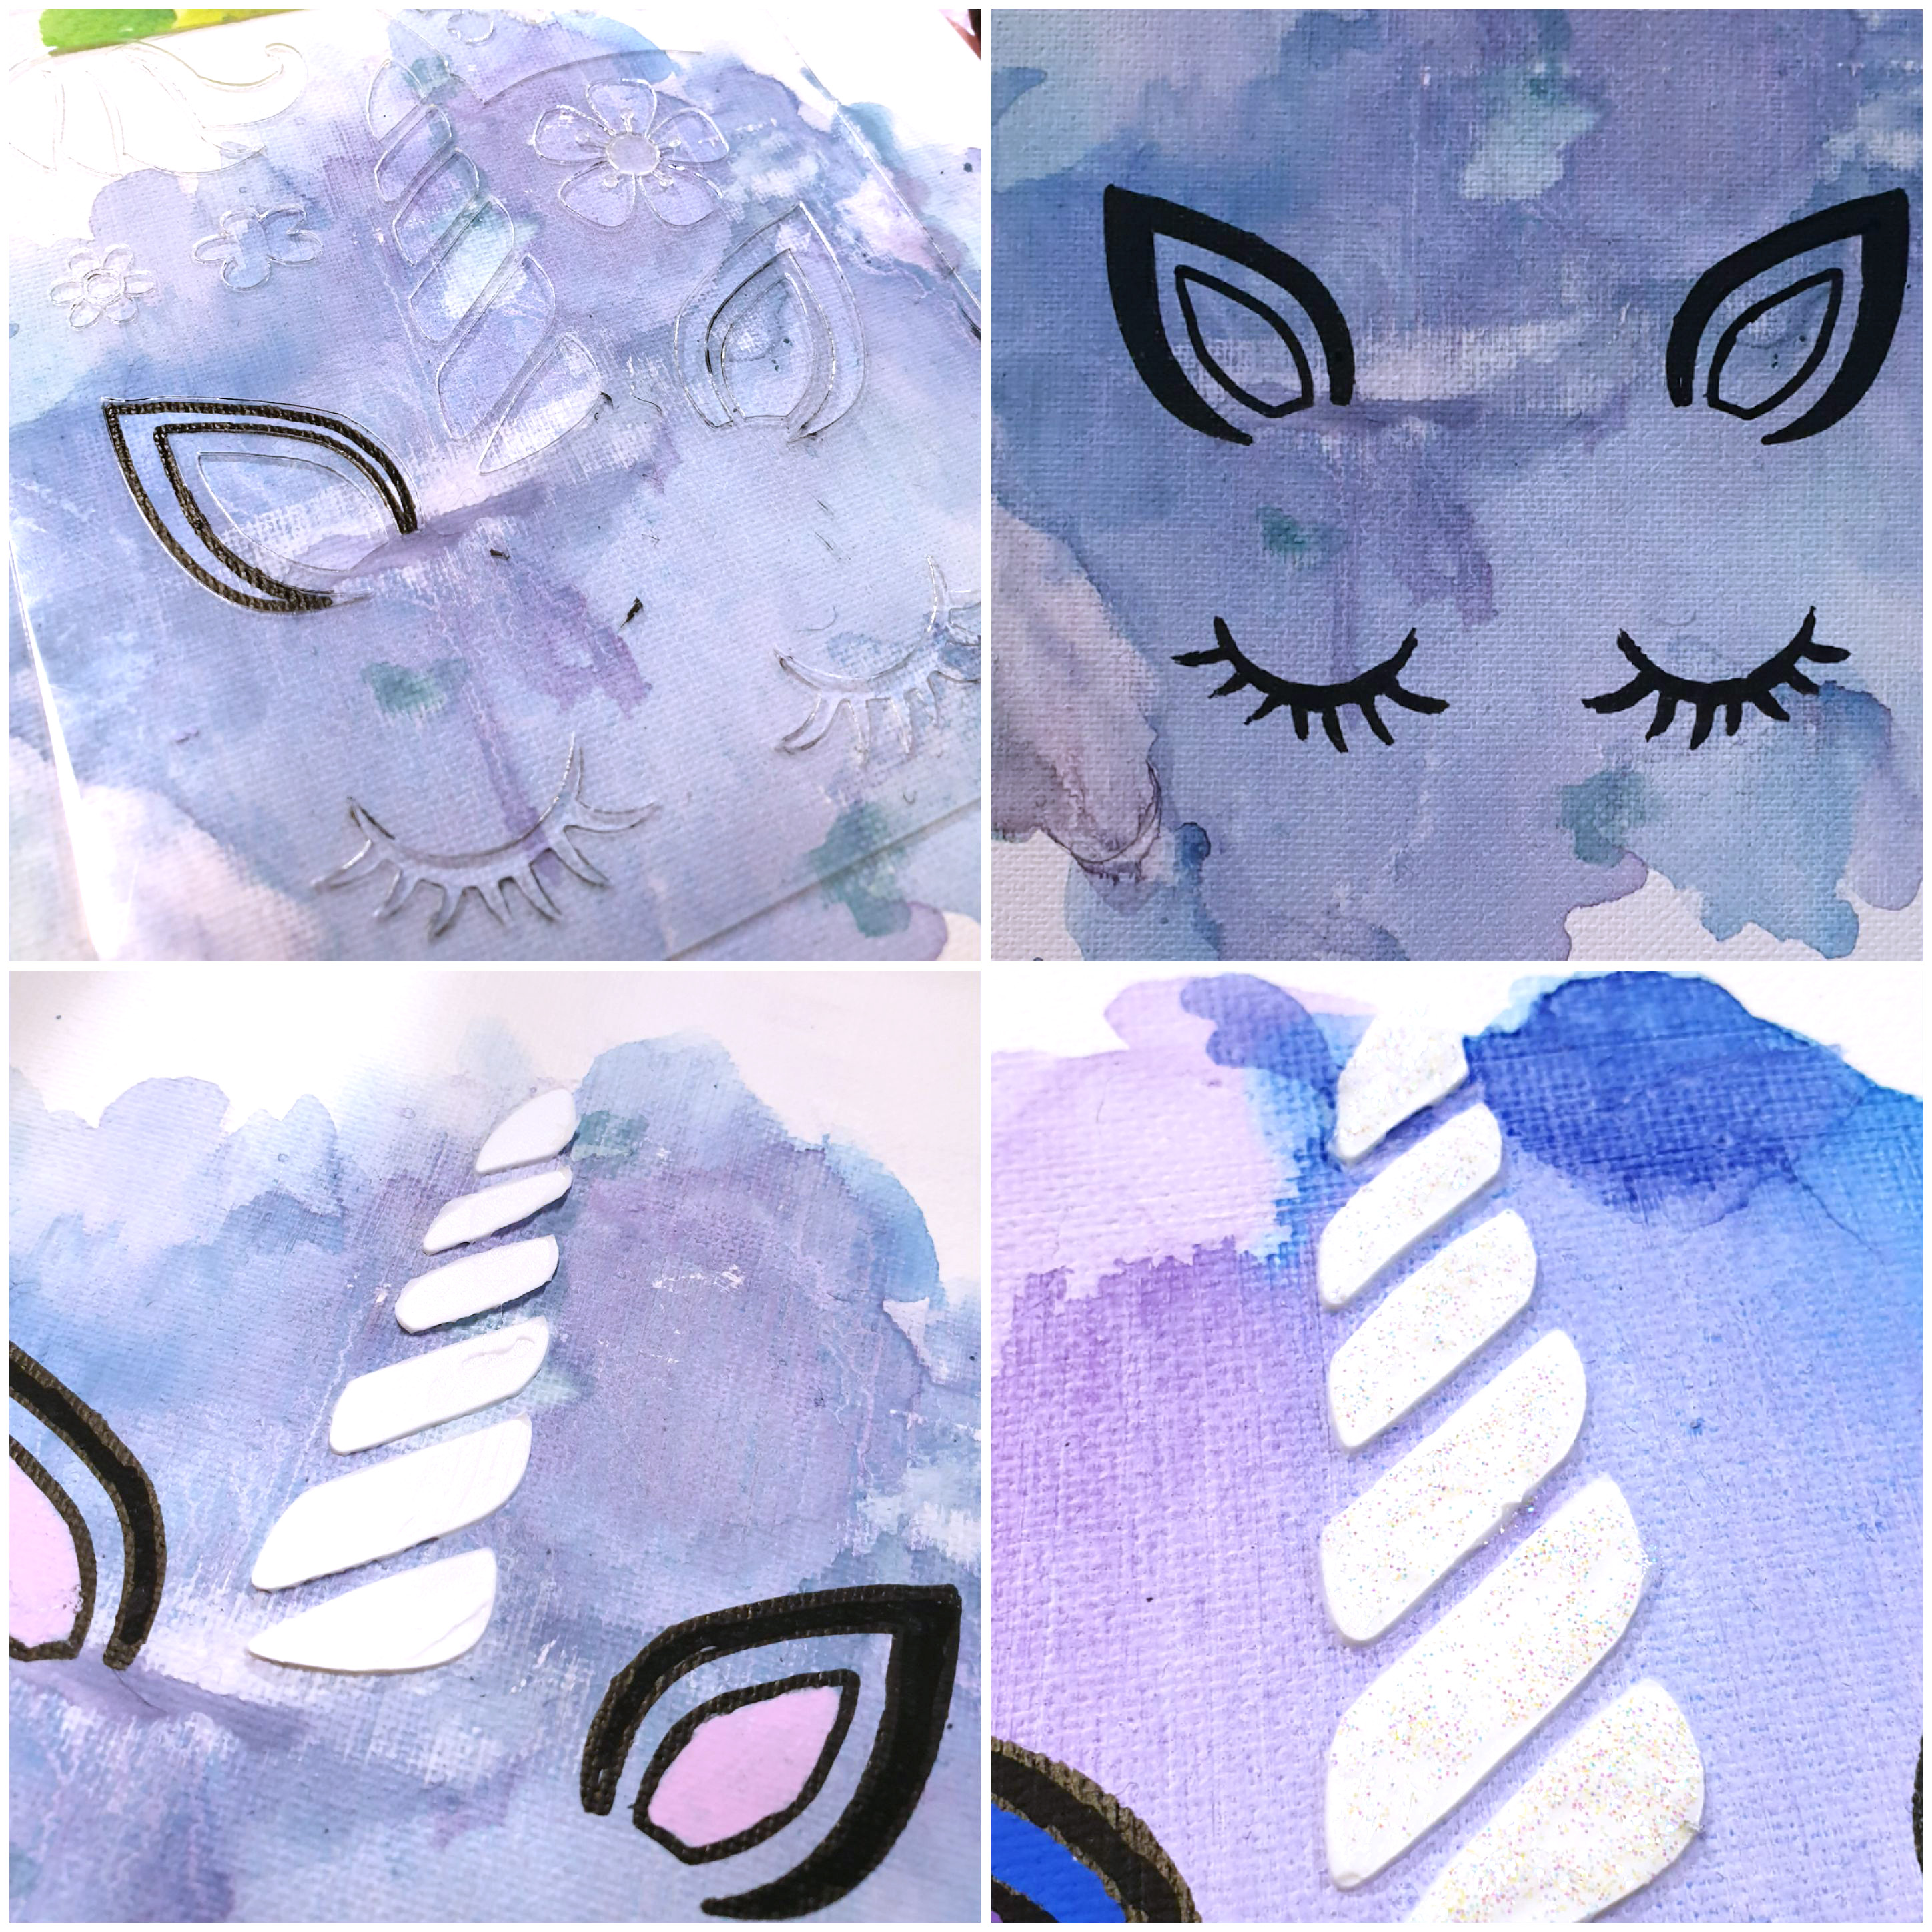
After I painted my background, I used a waterproof marker to add the ears and eyes of the unicorn.  The horn was added with some moulding paste and this water painted with Stickles for some added sparkle.
I made the crowns a couple of different ways.  In the first pic I have laid the stencil on some plastic and added some paper clay and sat aside to dry.  I have then used moulding paste with the crown, just popping this on a scrap piece of card.  Once dry, I cut these out and bent them into a little curvy head shape.  I opted to use the moulding paste and cardboard crowns, I was able to manipulate the shape of these ones a little more.
I've used the same technique on the unicorn fringes.  These were coloured with acrylic paints and then moulded around the end of a paintbrush for a 3d look.
Create a Unicorn stencil

post signature

01 May 2019

Dreaming for Scrap FX

Hi there, this month I have another canvas to share.  I saw the new release and new exactly how perfect they'd be for my photo.
My canvas was the result of a paint pour I did a couple of years ago that I really disliked.  I never throw away my art work, even if I really don't like it.  I've found over the years I will often look at it again and see it with fresh eyes.
I grabbed a some black paint and added some circles and then filled in all around them.  I stamped on the circles with some paint and the Circle Collage stamps, outlined these in white and added some white splatters.
I used some posca pens to colour the Moon Dream Catcher and added some Stickles to the feathers for some sparkle.
The Art Words transparency has been adhered to the top of the large circle with matte gel.  I had to cut this into 3 pieces because my circle was longer than the transparency.
I used the Pointy Feathers Chipboard as some wings and heat embossed these with shabby chic embossing powder.
I did the same with the title.  I also cut a couple of words of the Never Stop Dreaming title and added the smaller of the Pointy Feathers to the end of this.
To finish it off I added some cotton and lots of sparkles with beads and sequins.
Hope you've been inspired.
Moon Dreamcatcher LARGE  Pointy Feathers  Art Words transparency
Circle collage stamps  Never stop dreaming


post signature