Print

16 June 2019

Paint Long and Prosper and a mixed media stand for Scrap FX

Hi, thank you for joining me again this month.  Today I'm sharing a simple art journal page and and little off the page project.
After painting my background, I have adhered some Bookprint Transparency to my background.  I just cut random pieces of this and used matte medium to stick it down in 3 places to form a visual triangle.
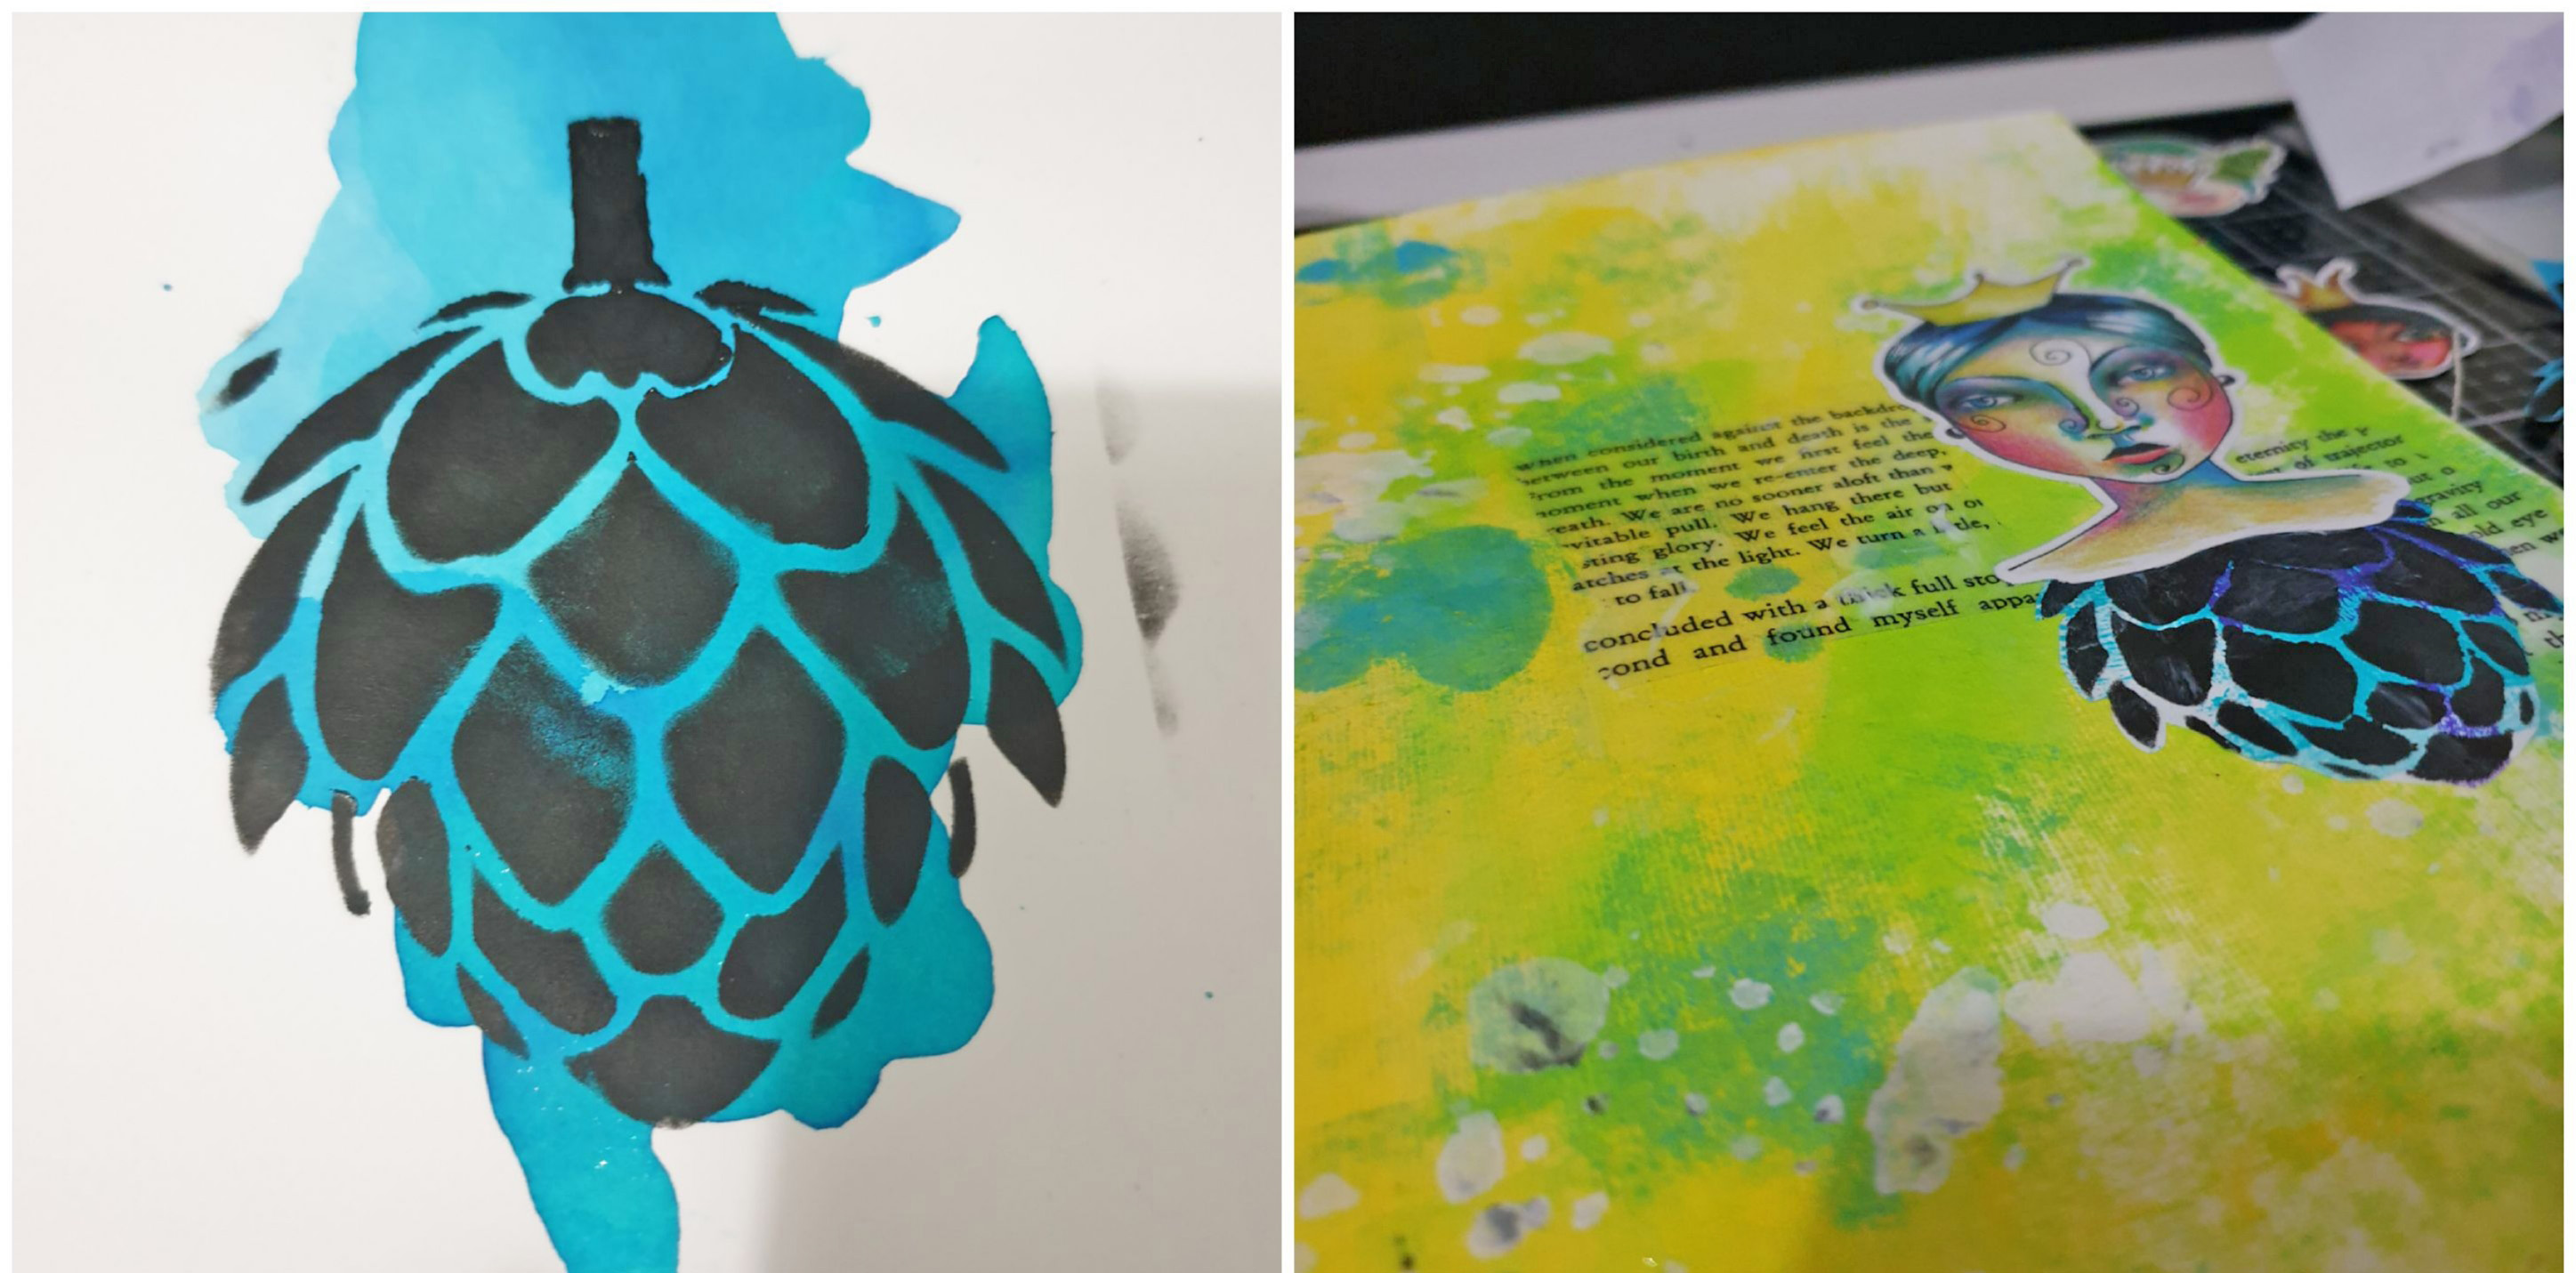
I've then taken one of my scrap pages that I started a background on a while ago that I wasn't happy with.  I think I've said before that I always keep these to re purpose them for future projects.   I've used a sponge and black paint with the Flower Buds Stencil and once cut, used these to make the bodies/dresses of my Queens.
For my title I have cut a strip from the Art Words Transparency and painted behind this with a posca pen.
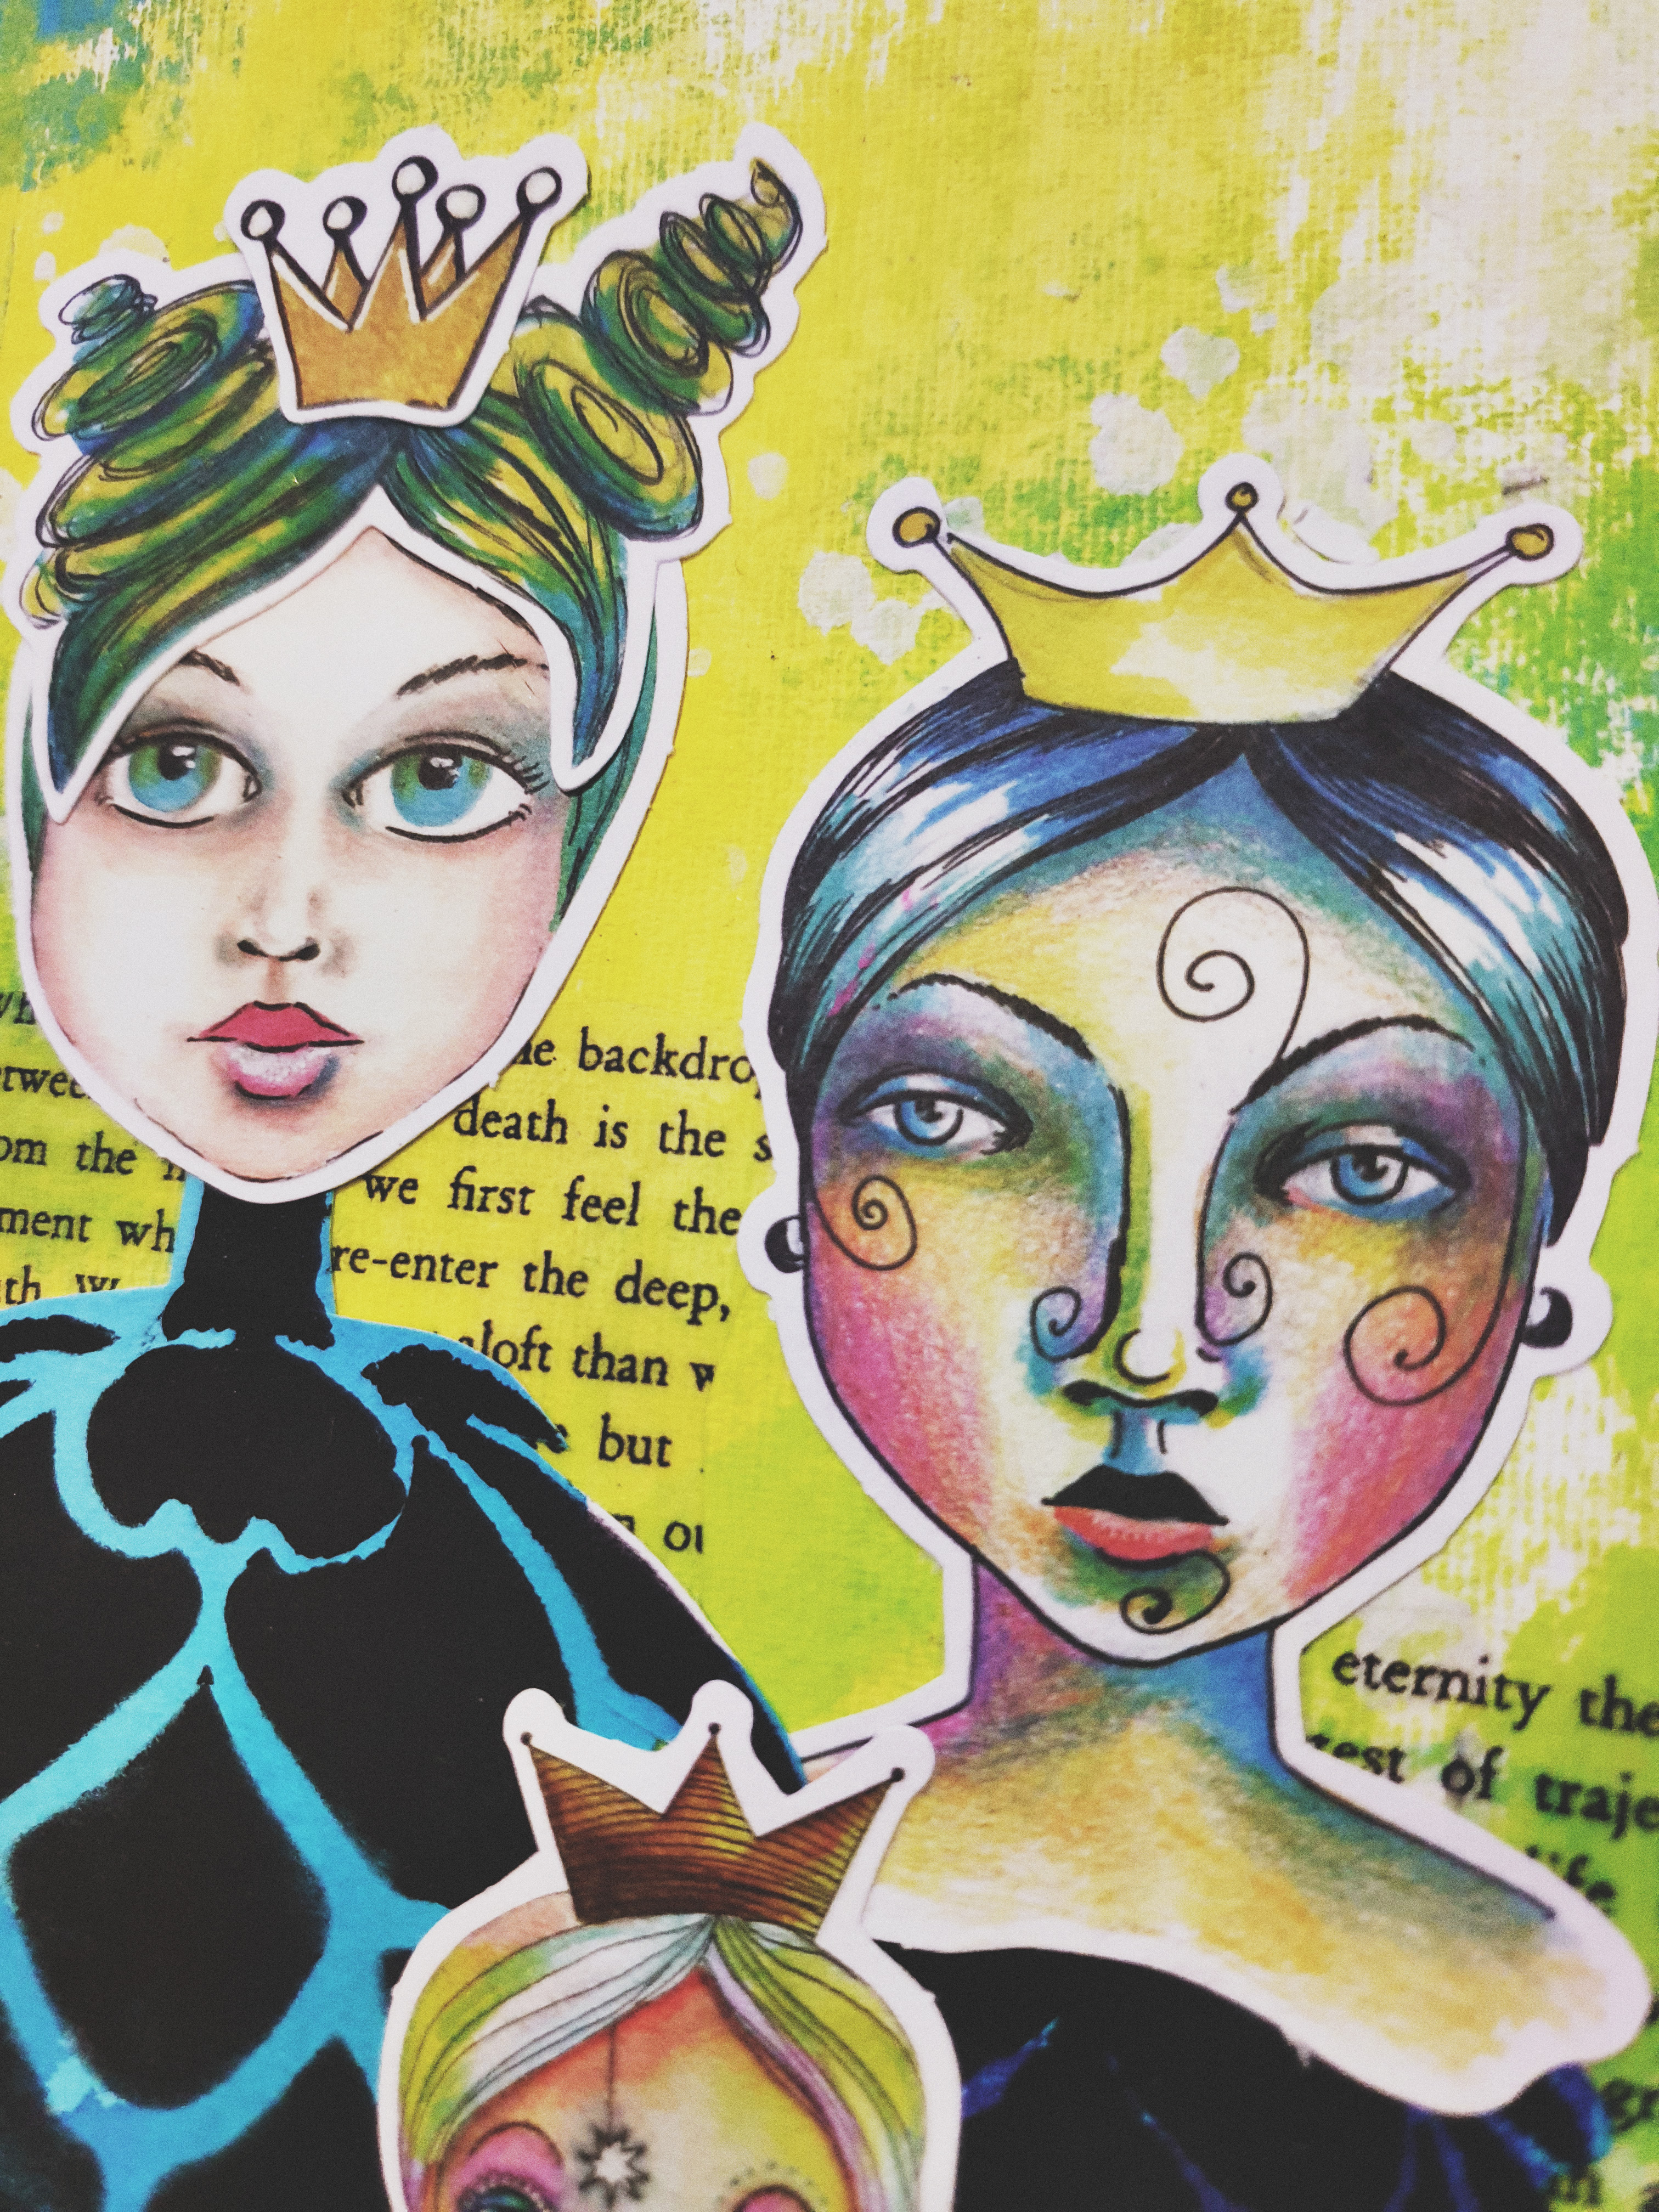
Flower Buds stencil  Bookprint transparency  Art Words transparency
My next project began with a desk stand that my friend Deena Otway gave a few of us at a retreat a couple of years ago.  I finally got around to painting it and love how it's turned out.
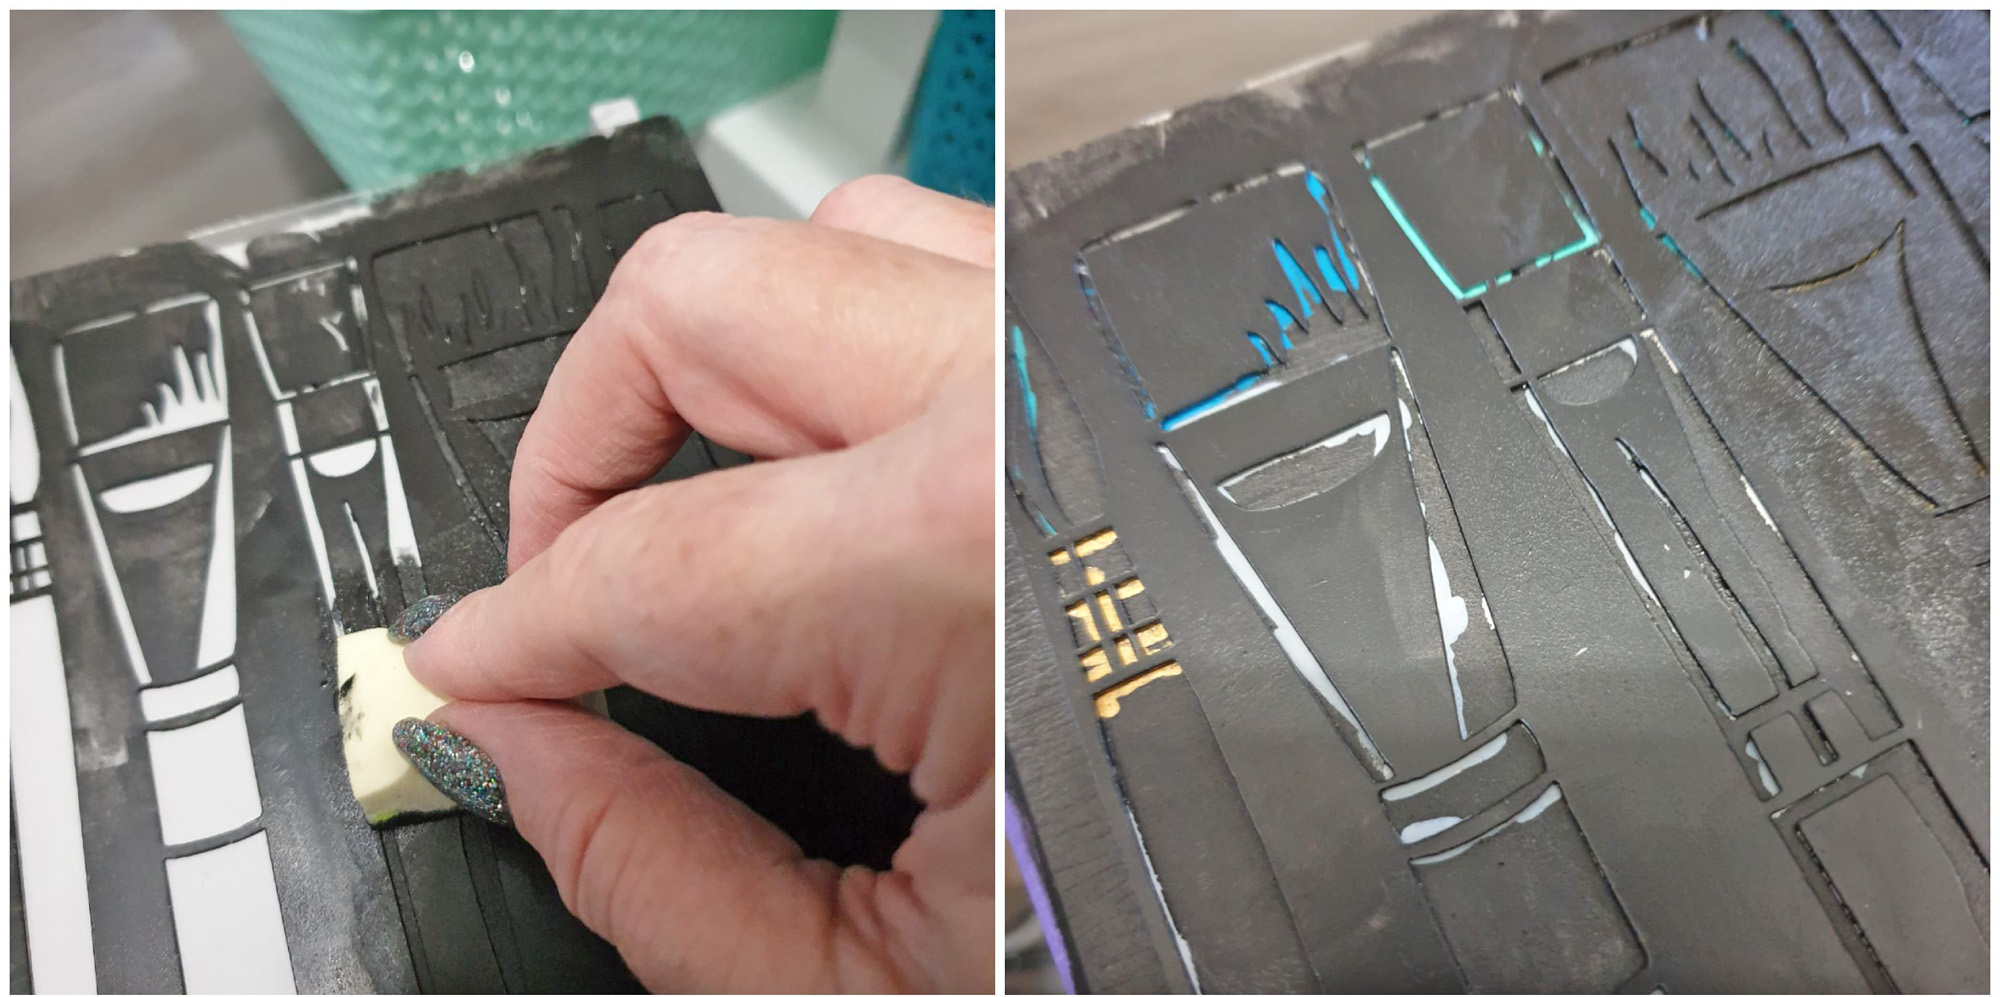
After giving it a couple of coats of chalk paint I have used the Paint Brushes Stencil and black paint on the ends of the stand.  I then coloured each brush with paint pens and went over the top of this with the stencil again to neaten the finish.
I added a paintbrush to the front and also the word Create from the Create with Passion Stencil.
I love it so much that I'm going to make a permanent spot on my desk for it.
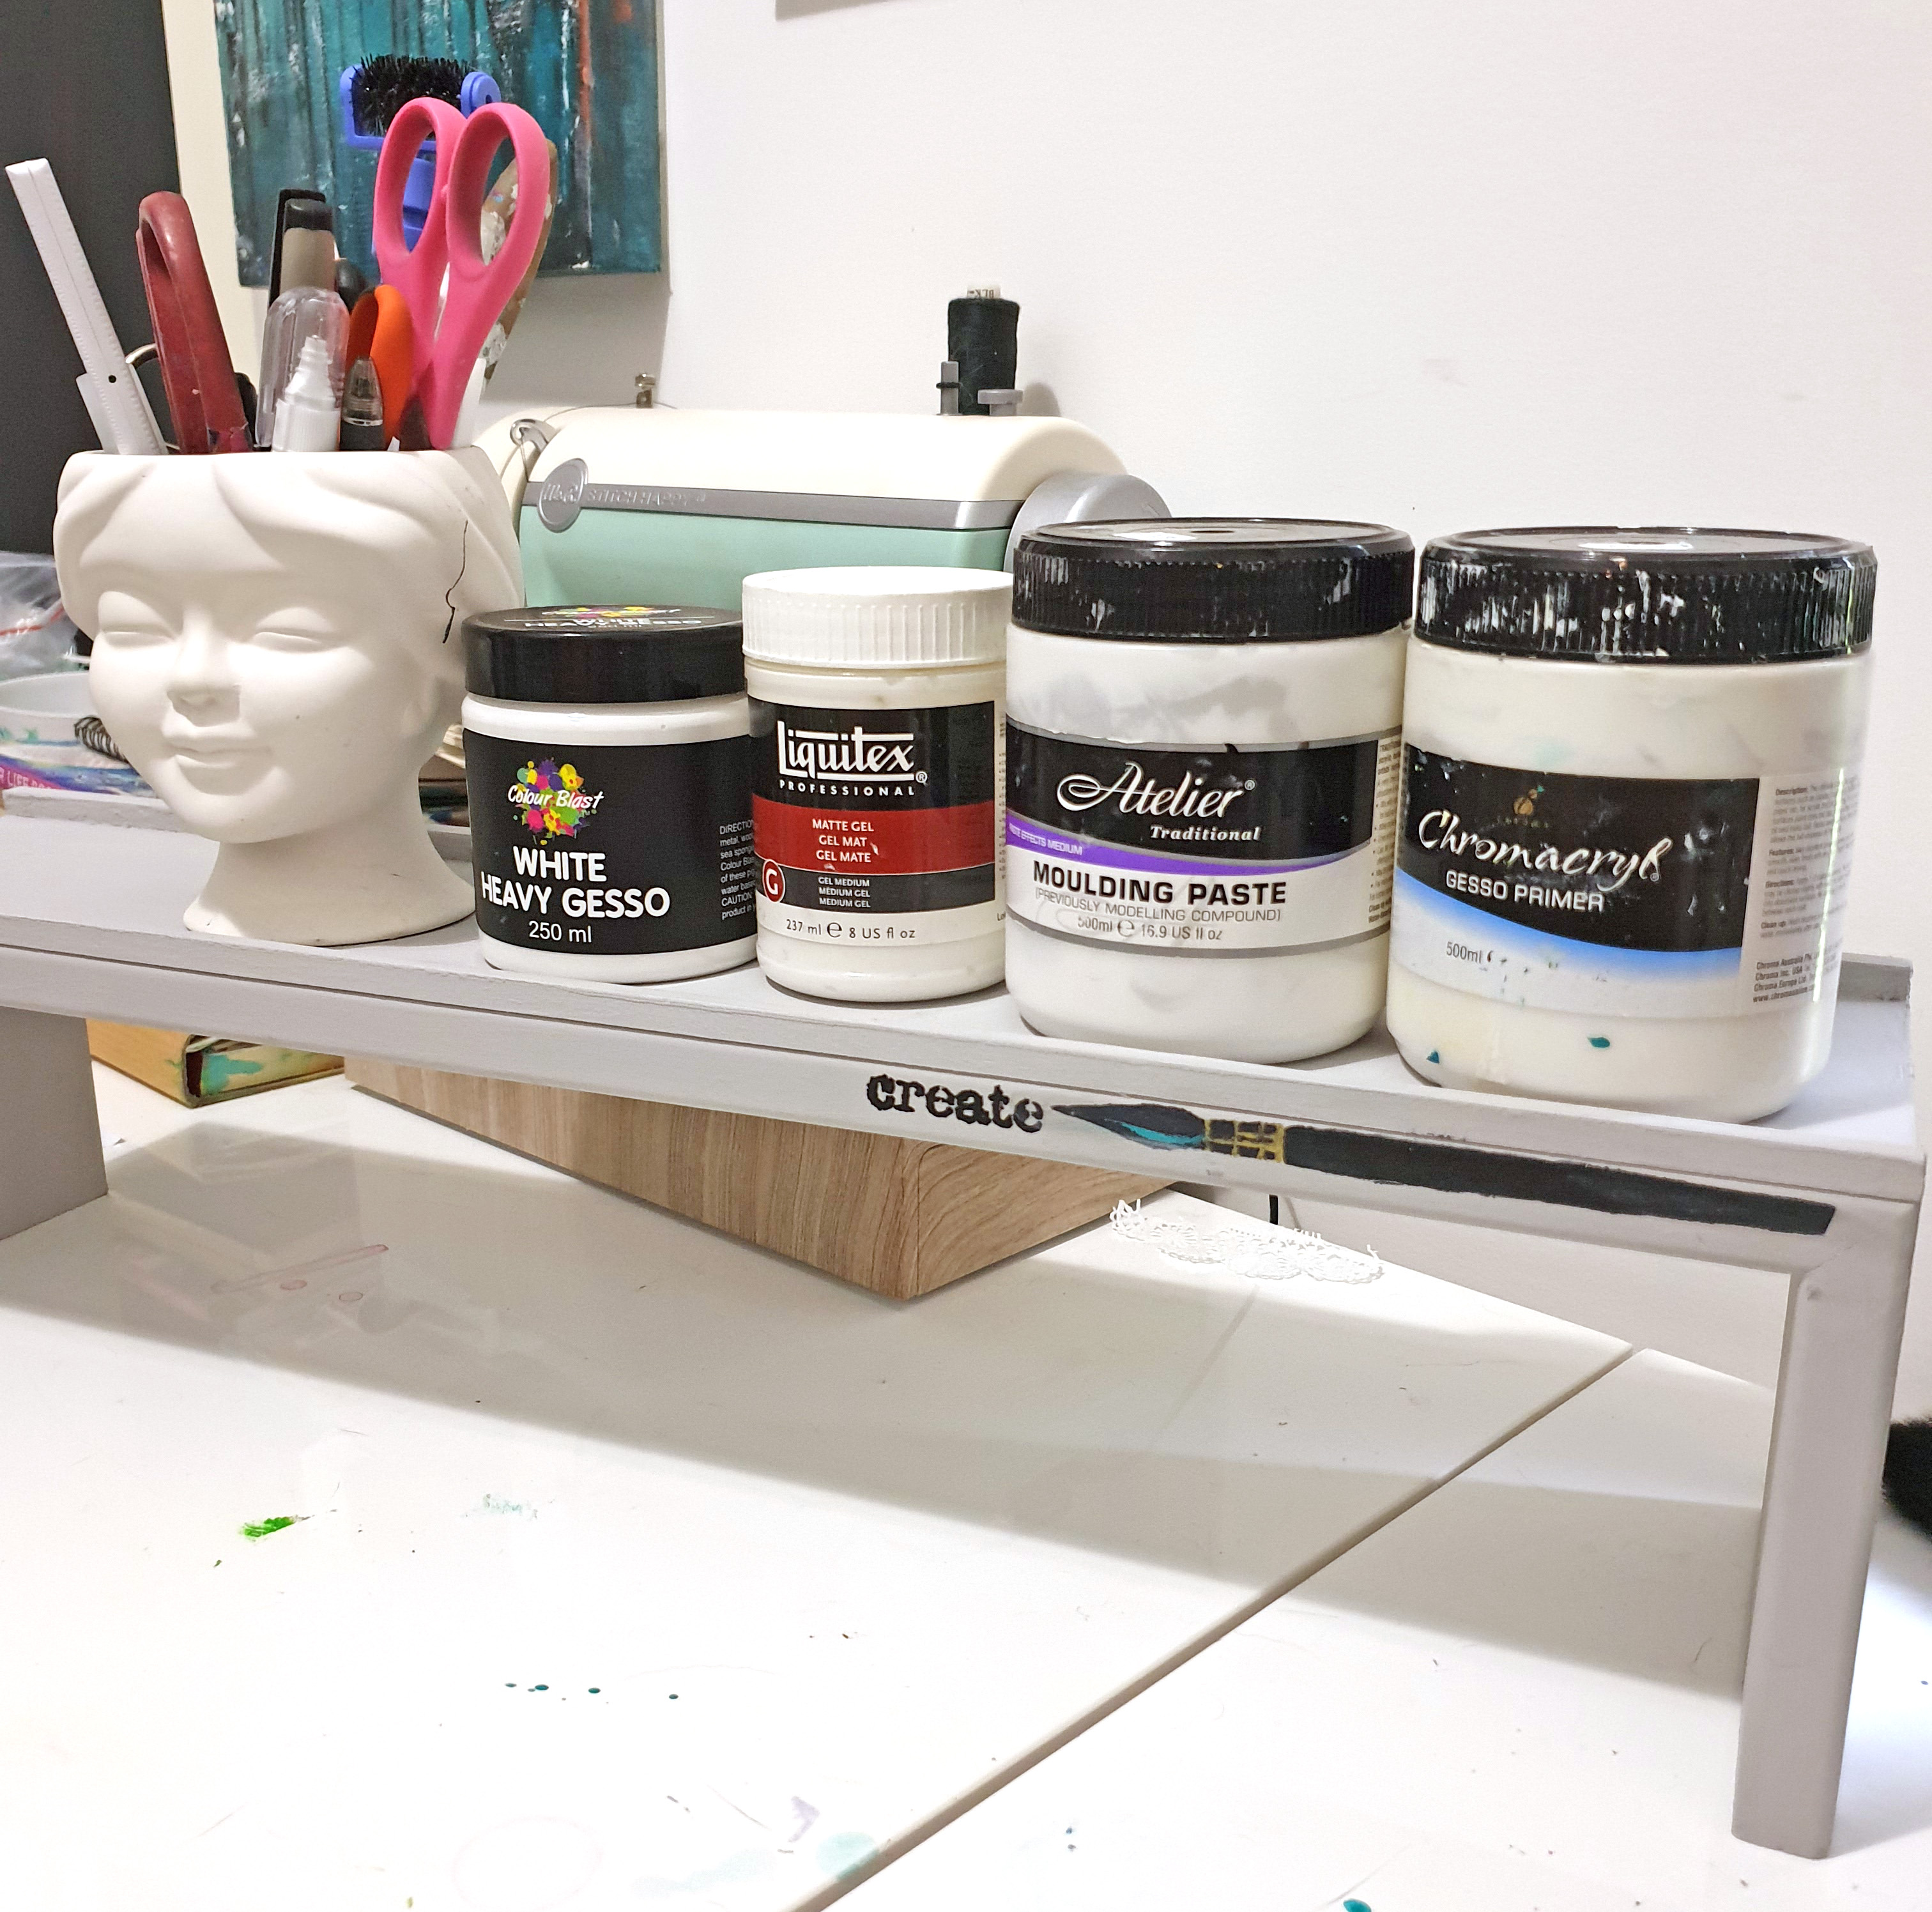
Create with passion stencil  Paint Brushes stencil
Hope you've been inspired.

post signature

01 June 2019

4 for Scrap FX

Hi, thanks for joining me today as I share some of this months fabulous new releases.  Perfect timing for a pic of one of my gorgeous nephews who just celebrated his 4th birthday.
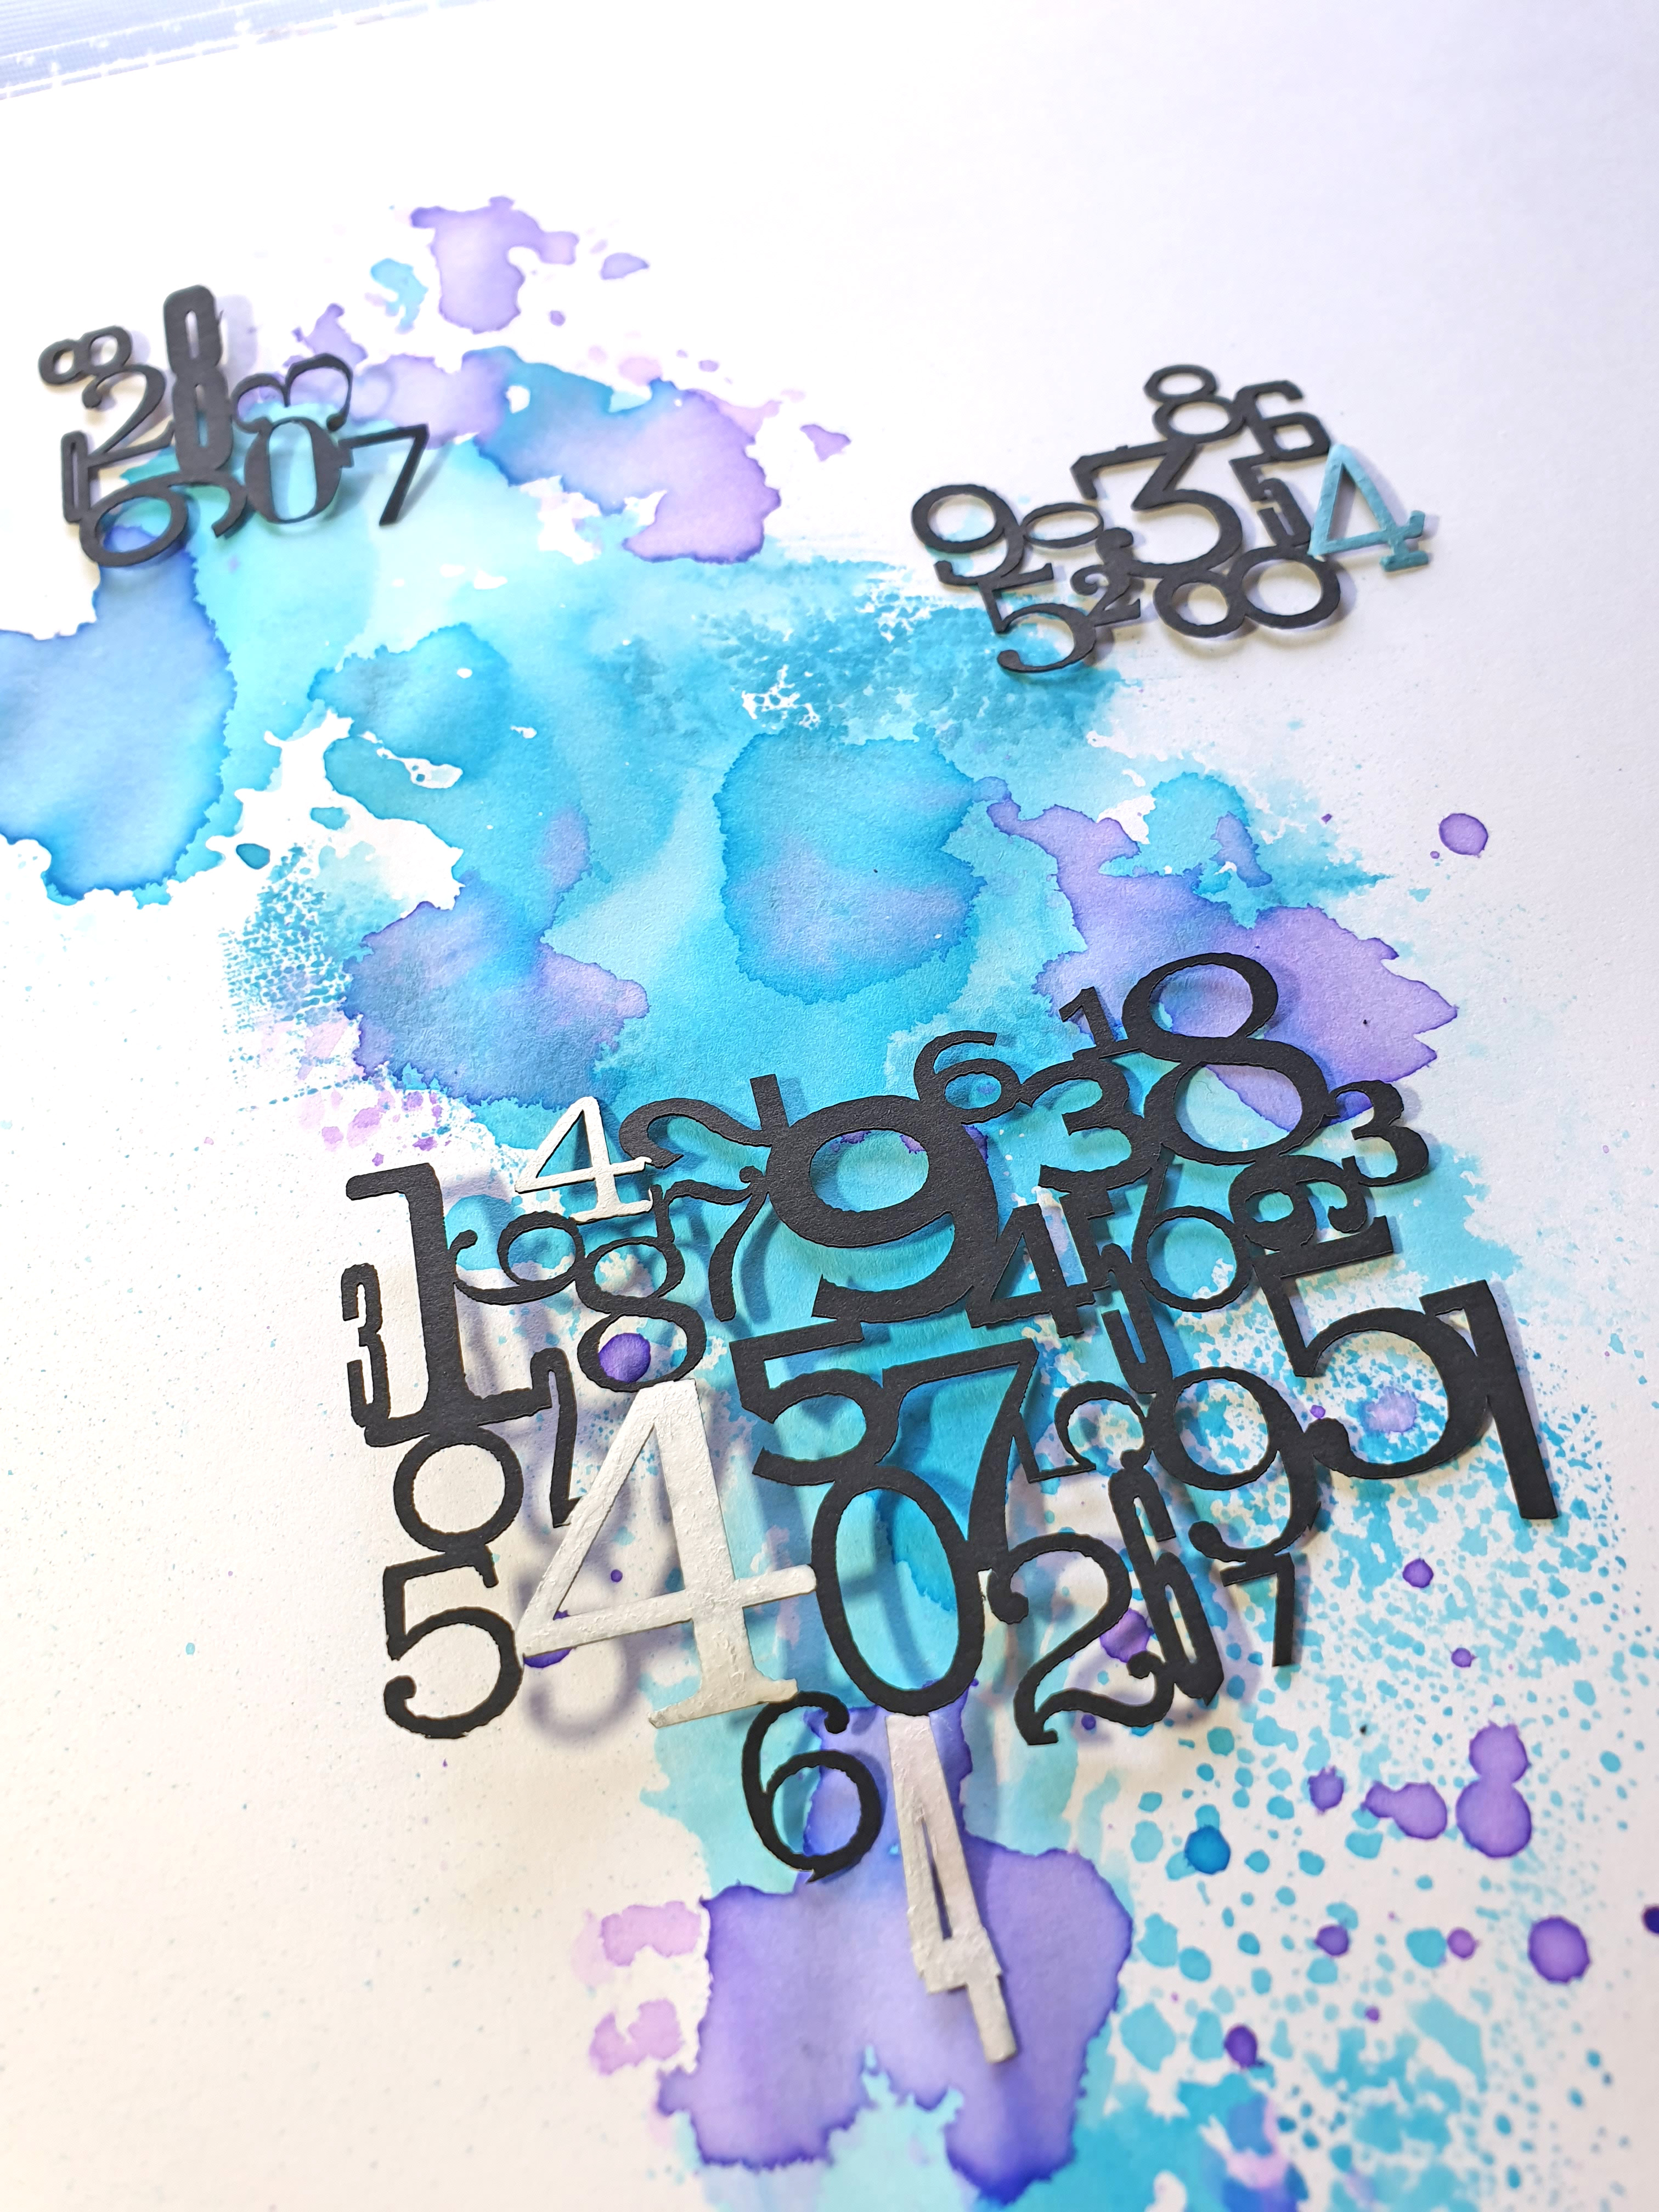
Some watered colour with Distress Inks started this one off.  The Numbers Silhouette has then been cut into 3 pieces to make a visual triangle and .was then adhered to the page.  I coloured in the number fours to show Eli's age.
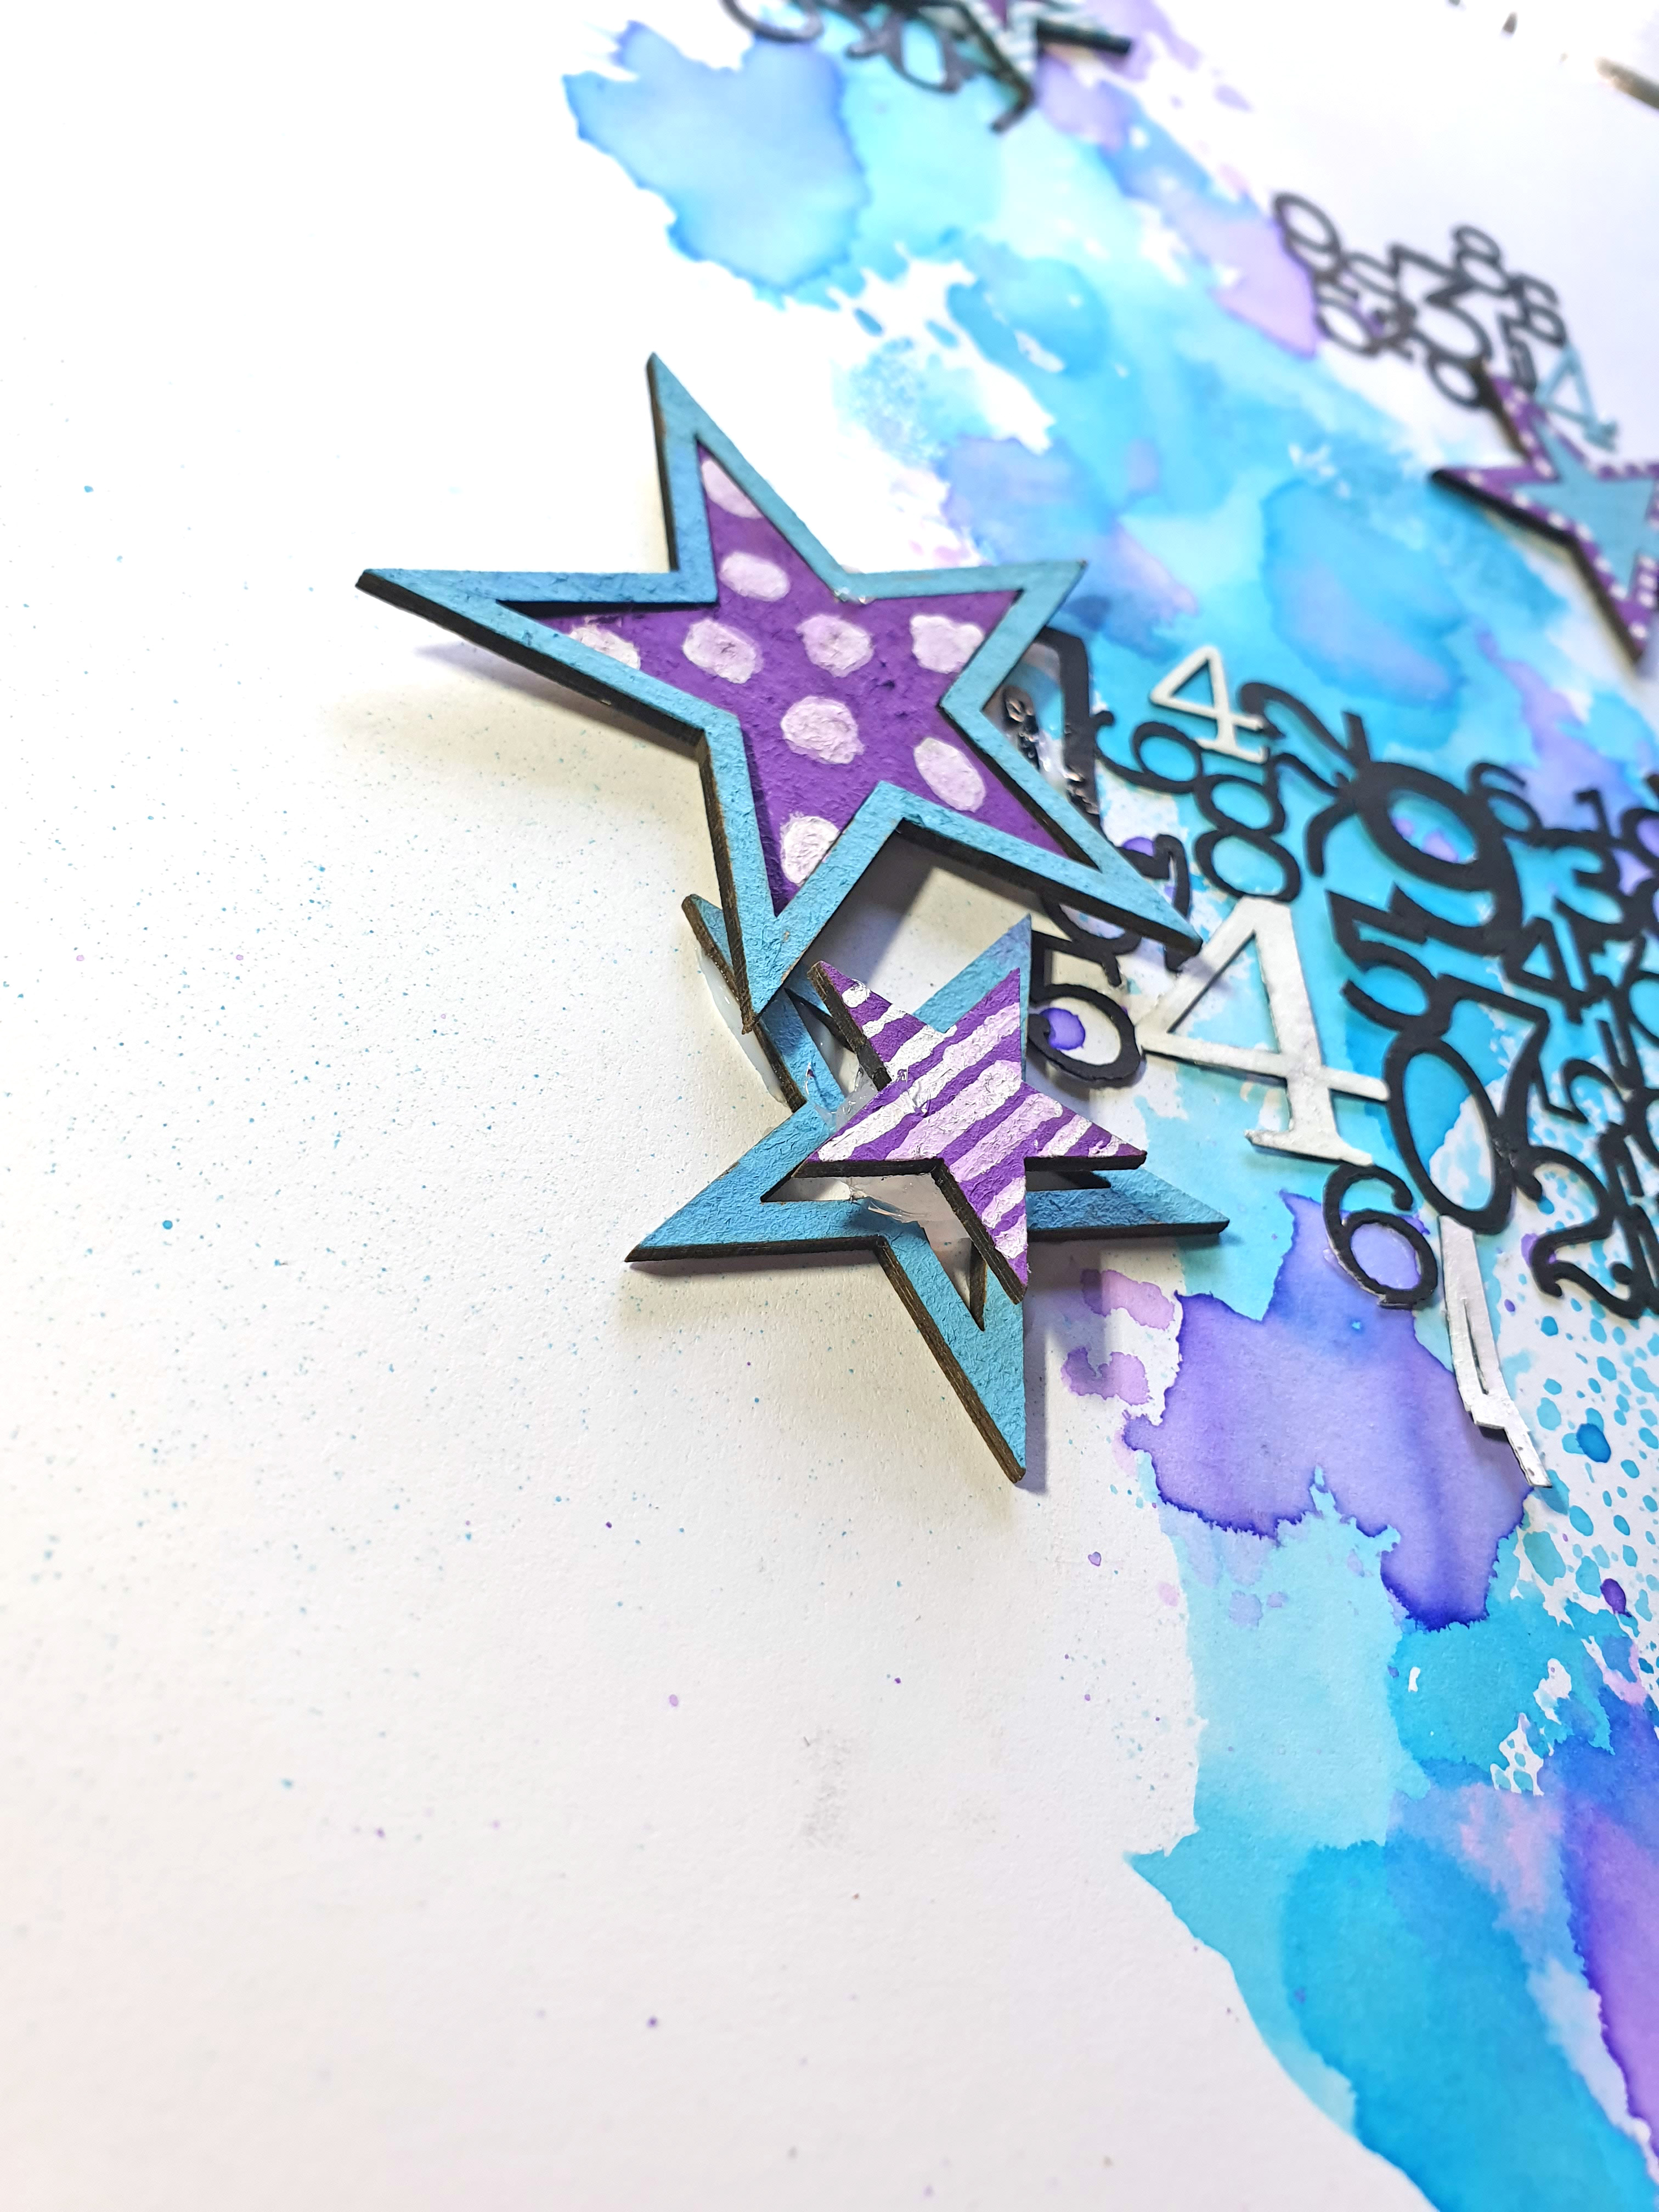
The chipboard Star Outlines have been coloured with posca pens with some spots and stripes added for visual interest.
The Happy Birthday Frame has been glued to the photo and then cut around the edge when this was dry.
Along the edges I have stamped using the Numbers Crunch Stamp and added some more Numbers Silhouette.
Hope you've been inspired.
Star Outlines Numbers silhouette SMALL
Number Crunch stamps Happy Birthday frame


post signature

16 May 2019

Together layout and an Art Journal page for Scrap FX

Hello everyone, today I'm sharing with you a layout and an art journal page.

My background has been created using my gel press and the Script stamp and Mandala stamp.
I have used an Instant Photo Frame to frame my photo.  It was  a little over size for my pic.  To get around this, i cut a small piece from both edges and glued them back together.  Once painted you can't see the mended edges.
The Mandala chipboard has been heat embossed and cut in two.  A piece used for my photo cluster and a piece for the opposite page of my layout to help balance the page.
I've added a tag, some die cuts, cotton, tissue paper and a couple of Dotty Index Tabs.  To the tag I layered a piece of Book Print Transparency.
I cut a couple of words from the title and this and the frame were coloured with Posca Pens.  The edges of the page have been messy stamped with the Mandala Stamp.
Mandala  Index Tabs - Dotty  Bookprint transparency
Mandala stamp  We belong Together  Script stamp
Instant Photo Frames B
The ladies that are on this page were made from the same gel printing but these were my messy sheets, my stash of printed house plans.
I used Silhouette Ladies stencil on the gel printed papers.
The background is acrylic paint and the chevrons have been done with some gesso and the Chevron Stencil.
The quote on the page has been taken from the Art Words Transparency.  The back  of this has been painted with a Posca Pen and then adhered to the page with gel medium.
Art Words transparency  Script stamp  Mandala stamp
Chevron Stencil Silhouette Ladies stencil


post signature

01 May 2019

Dreaming for Scrap FX

Hi there, this month I have another canvas to share.  I saw the new release and new exactly how perfect they'd be for my photo.
My canvas was the result of a paint pour I did a couple of years ago that I really disliked.  I never throw away my art work, even if I really don't like it.  I've found over the years I will often look at it again and see it with fresh eyes.
I grabbed a some black paint and added some circles and then filled in all around them.  I stamped on the circles with some paint and the Circle Collage stamps, outlined these in white and added some white splatters.
I used some posca pens to colour the Moon Dream Catcher and added some Stickles to the feathers for some sparkle.
The Art Words transparency has been adhered to the top of the large circle with matte gel.  I had to cut this into 3 pieces because my circle was longer than the transparency.
I used the Pointy Feathers Chipboard as some wings and heat embossed these with shabby chic embossing powder.
I did the same with the title.  I also cut a couple of words of the Never Stop Dreaming title and added the smaller of the Pointy Feathers to the end of this.
To finish it off I added some cotton and lots of sparkles with beads and sequins.
Hope you've been inspired.
Moon Dreamcatcher LARGE  Pointy Feathers  Art Words transparency
Circle collage stamps  Never stop dreaming


post signature