Print

16 July 2019

A couple of water colour pages for Scrap FX

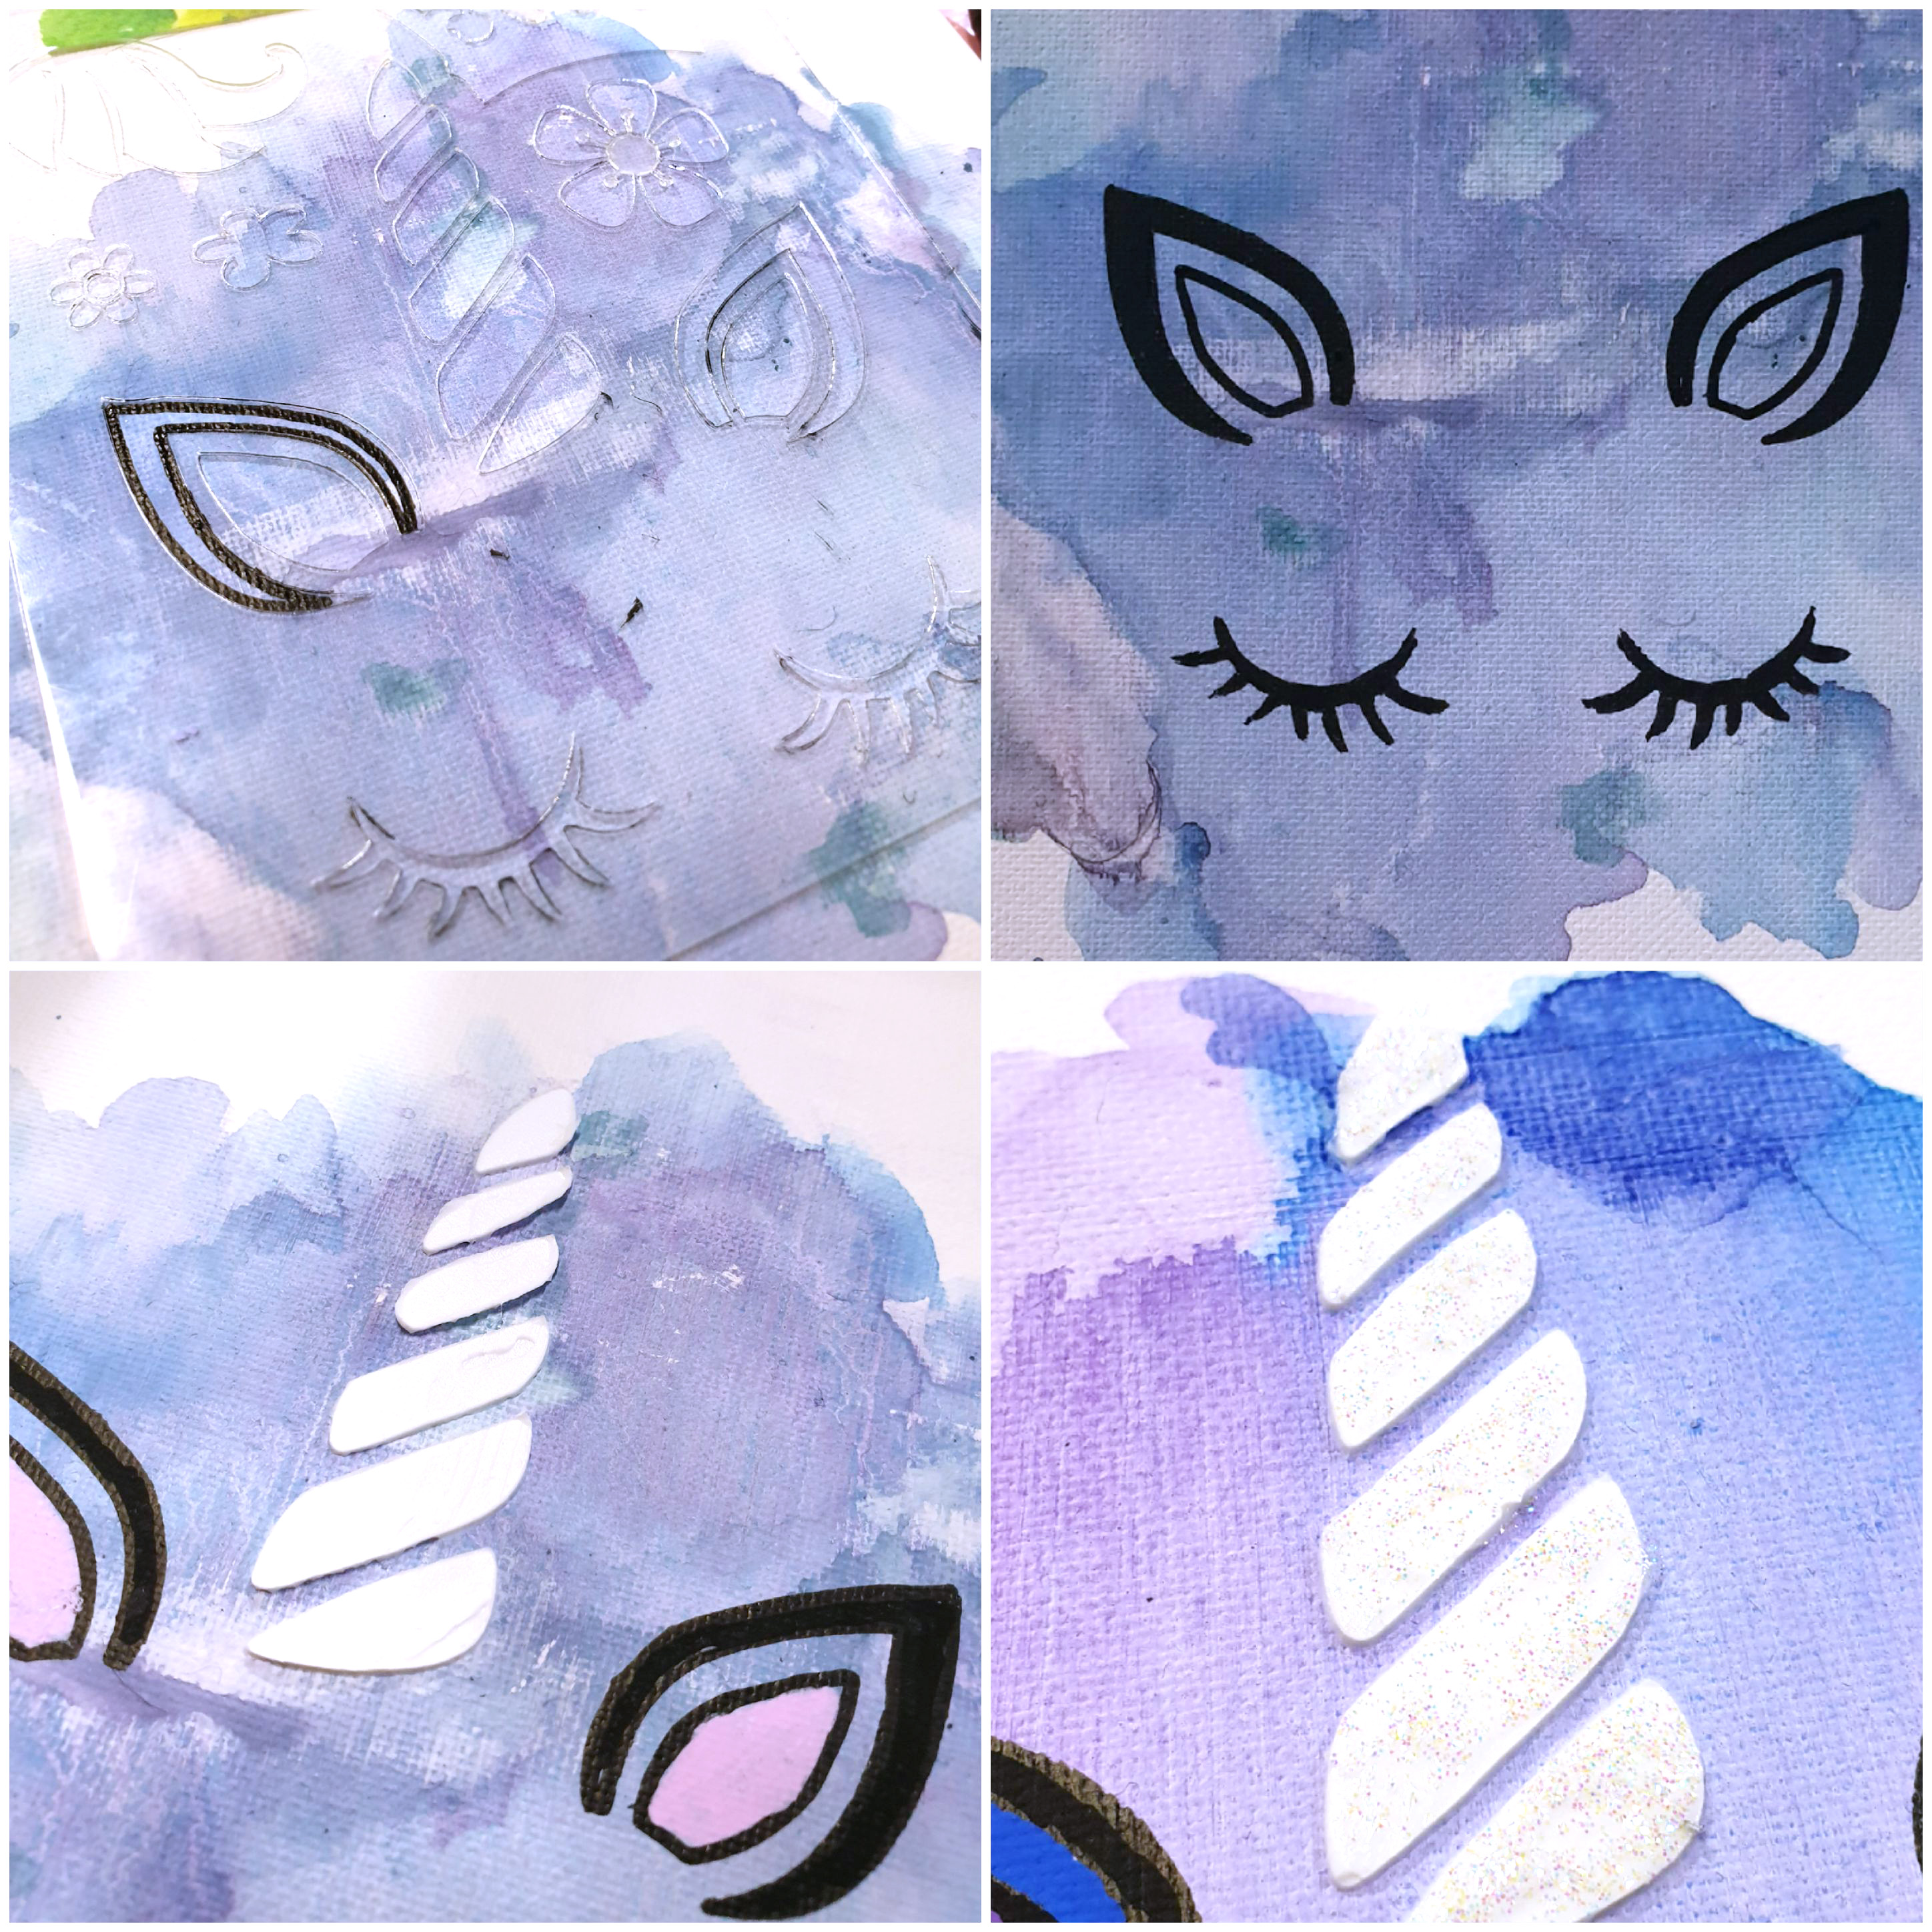
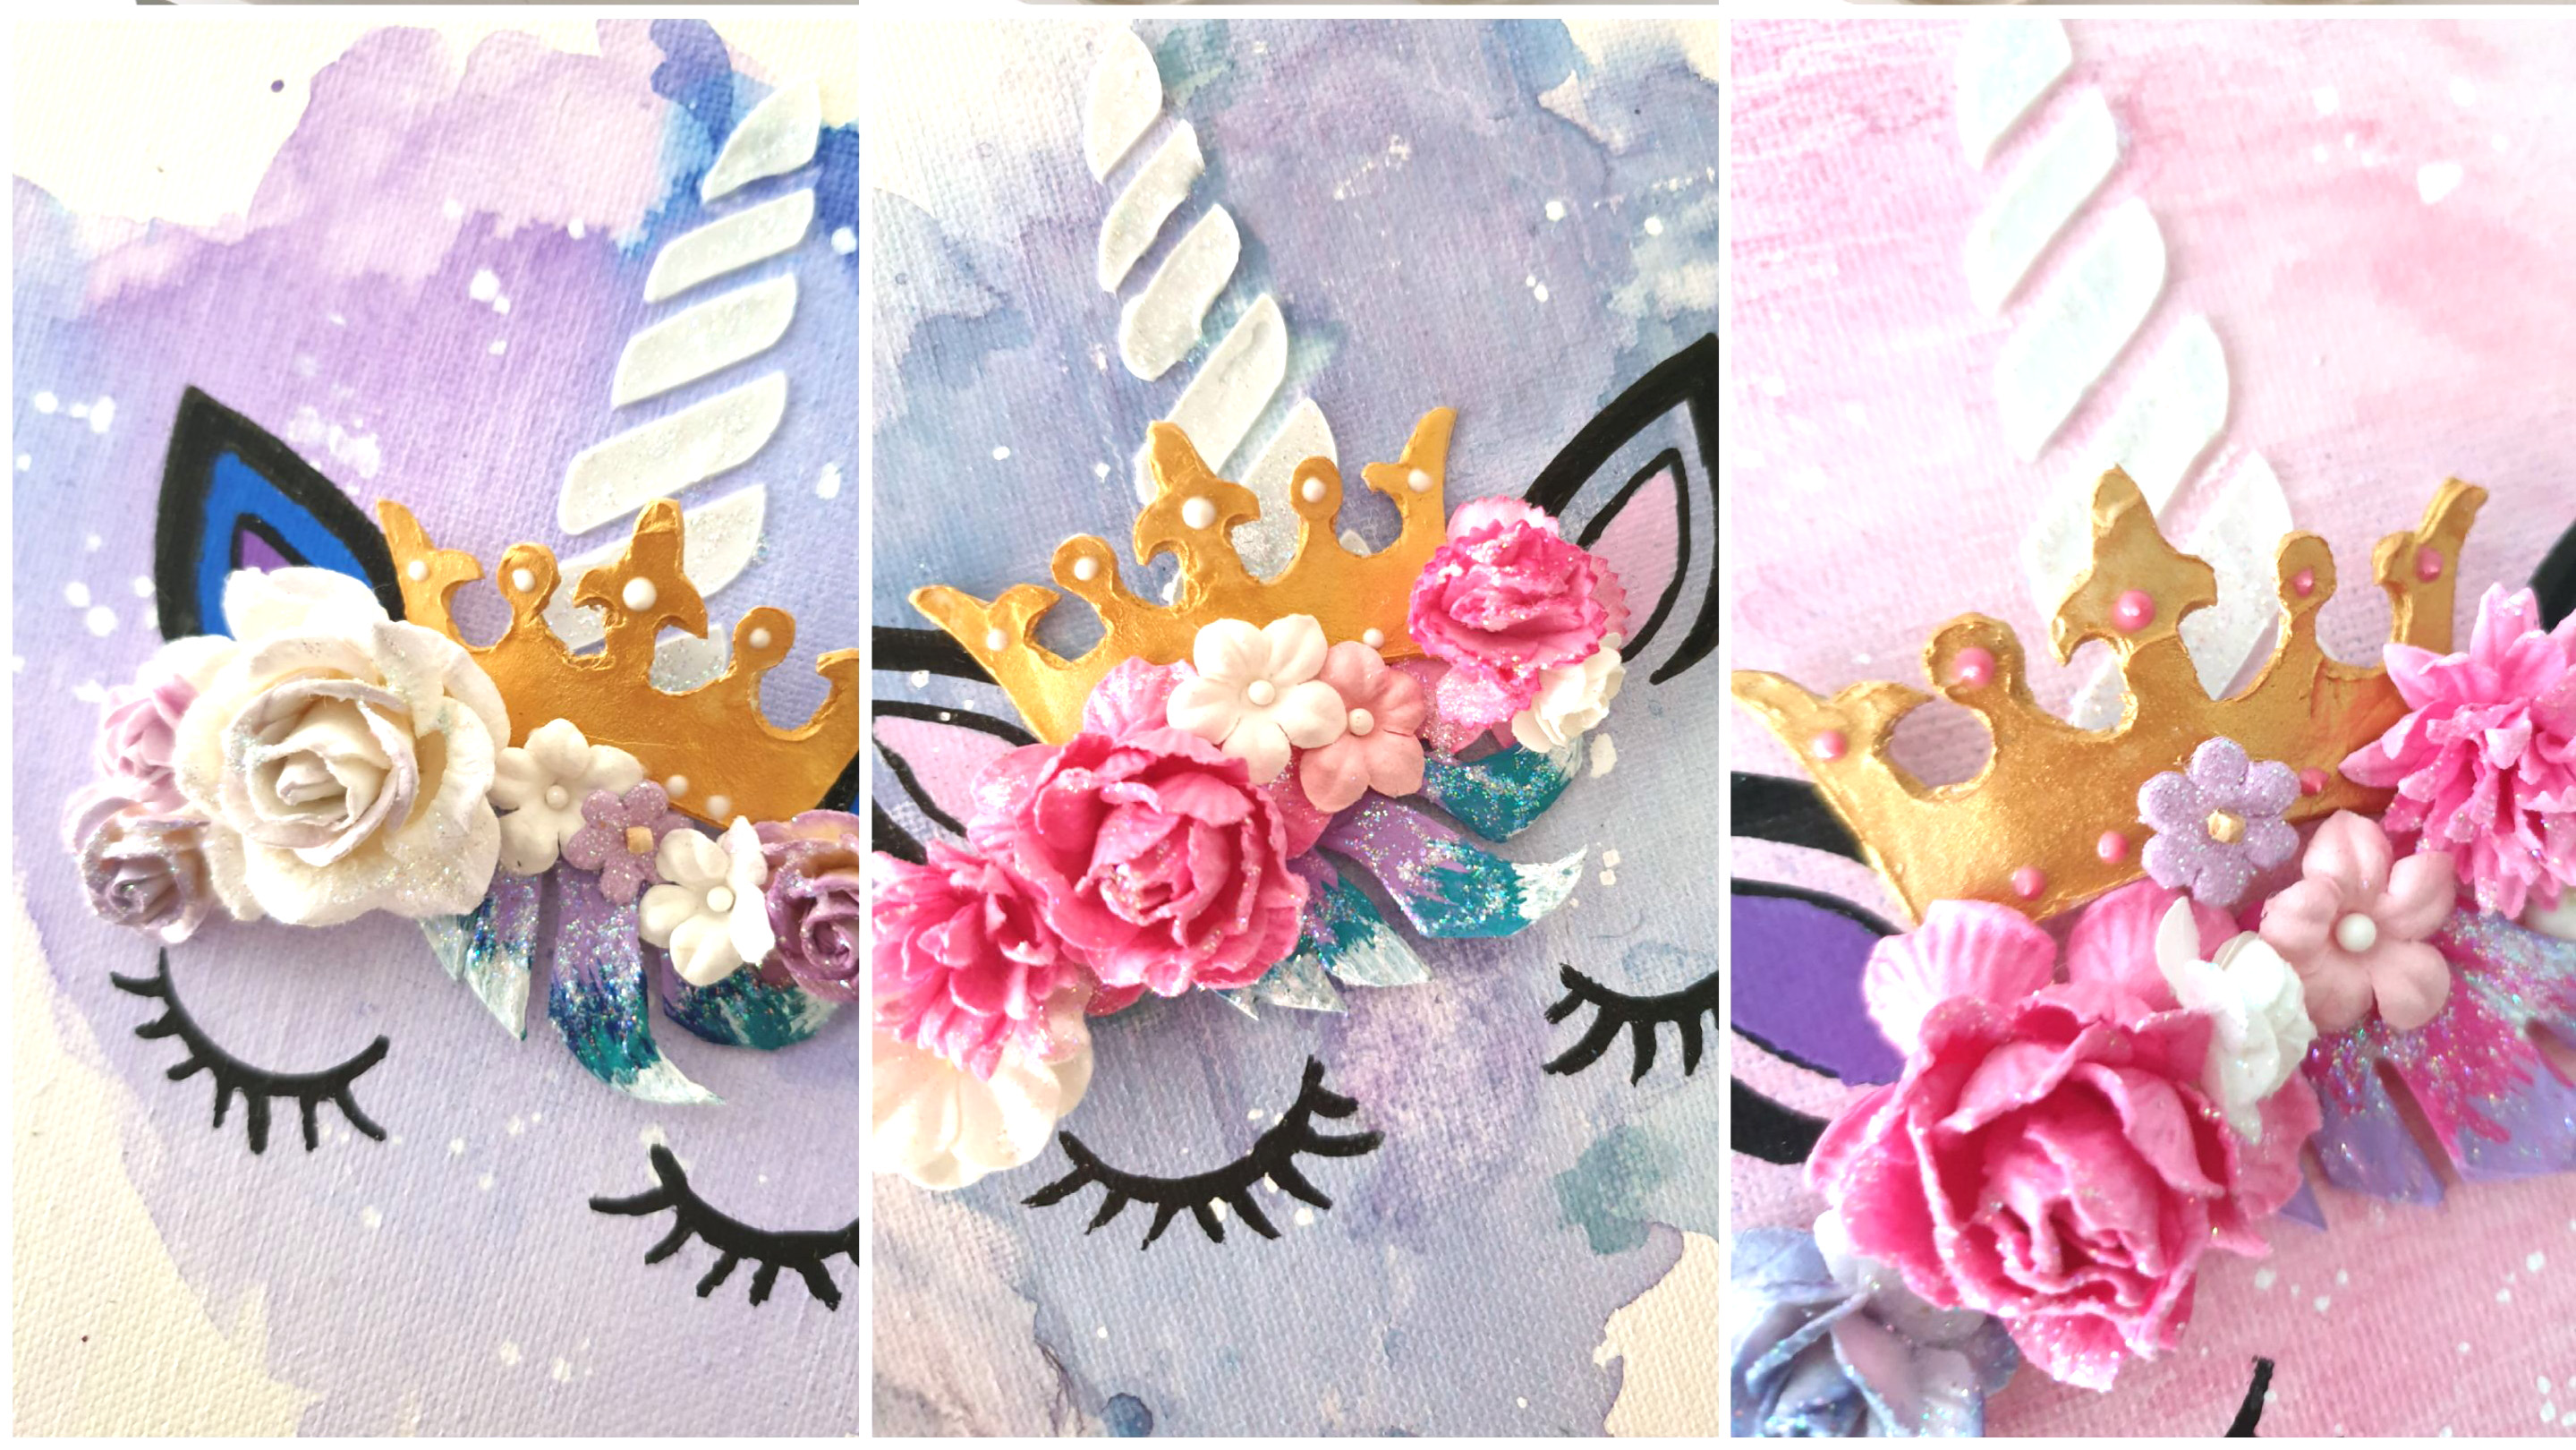
I seem to have taken on a new style recently with my scrapbooking.  I have rediscovered my love of water colours and after a few You Tube binges, pulled them out for some creative experiment.
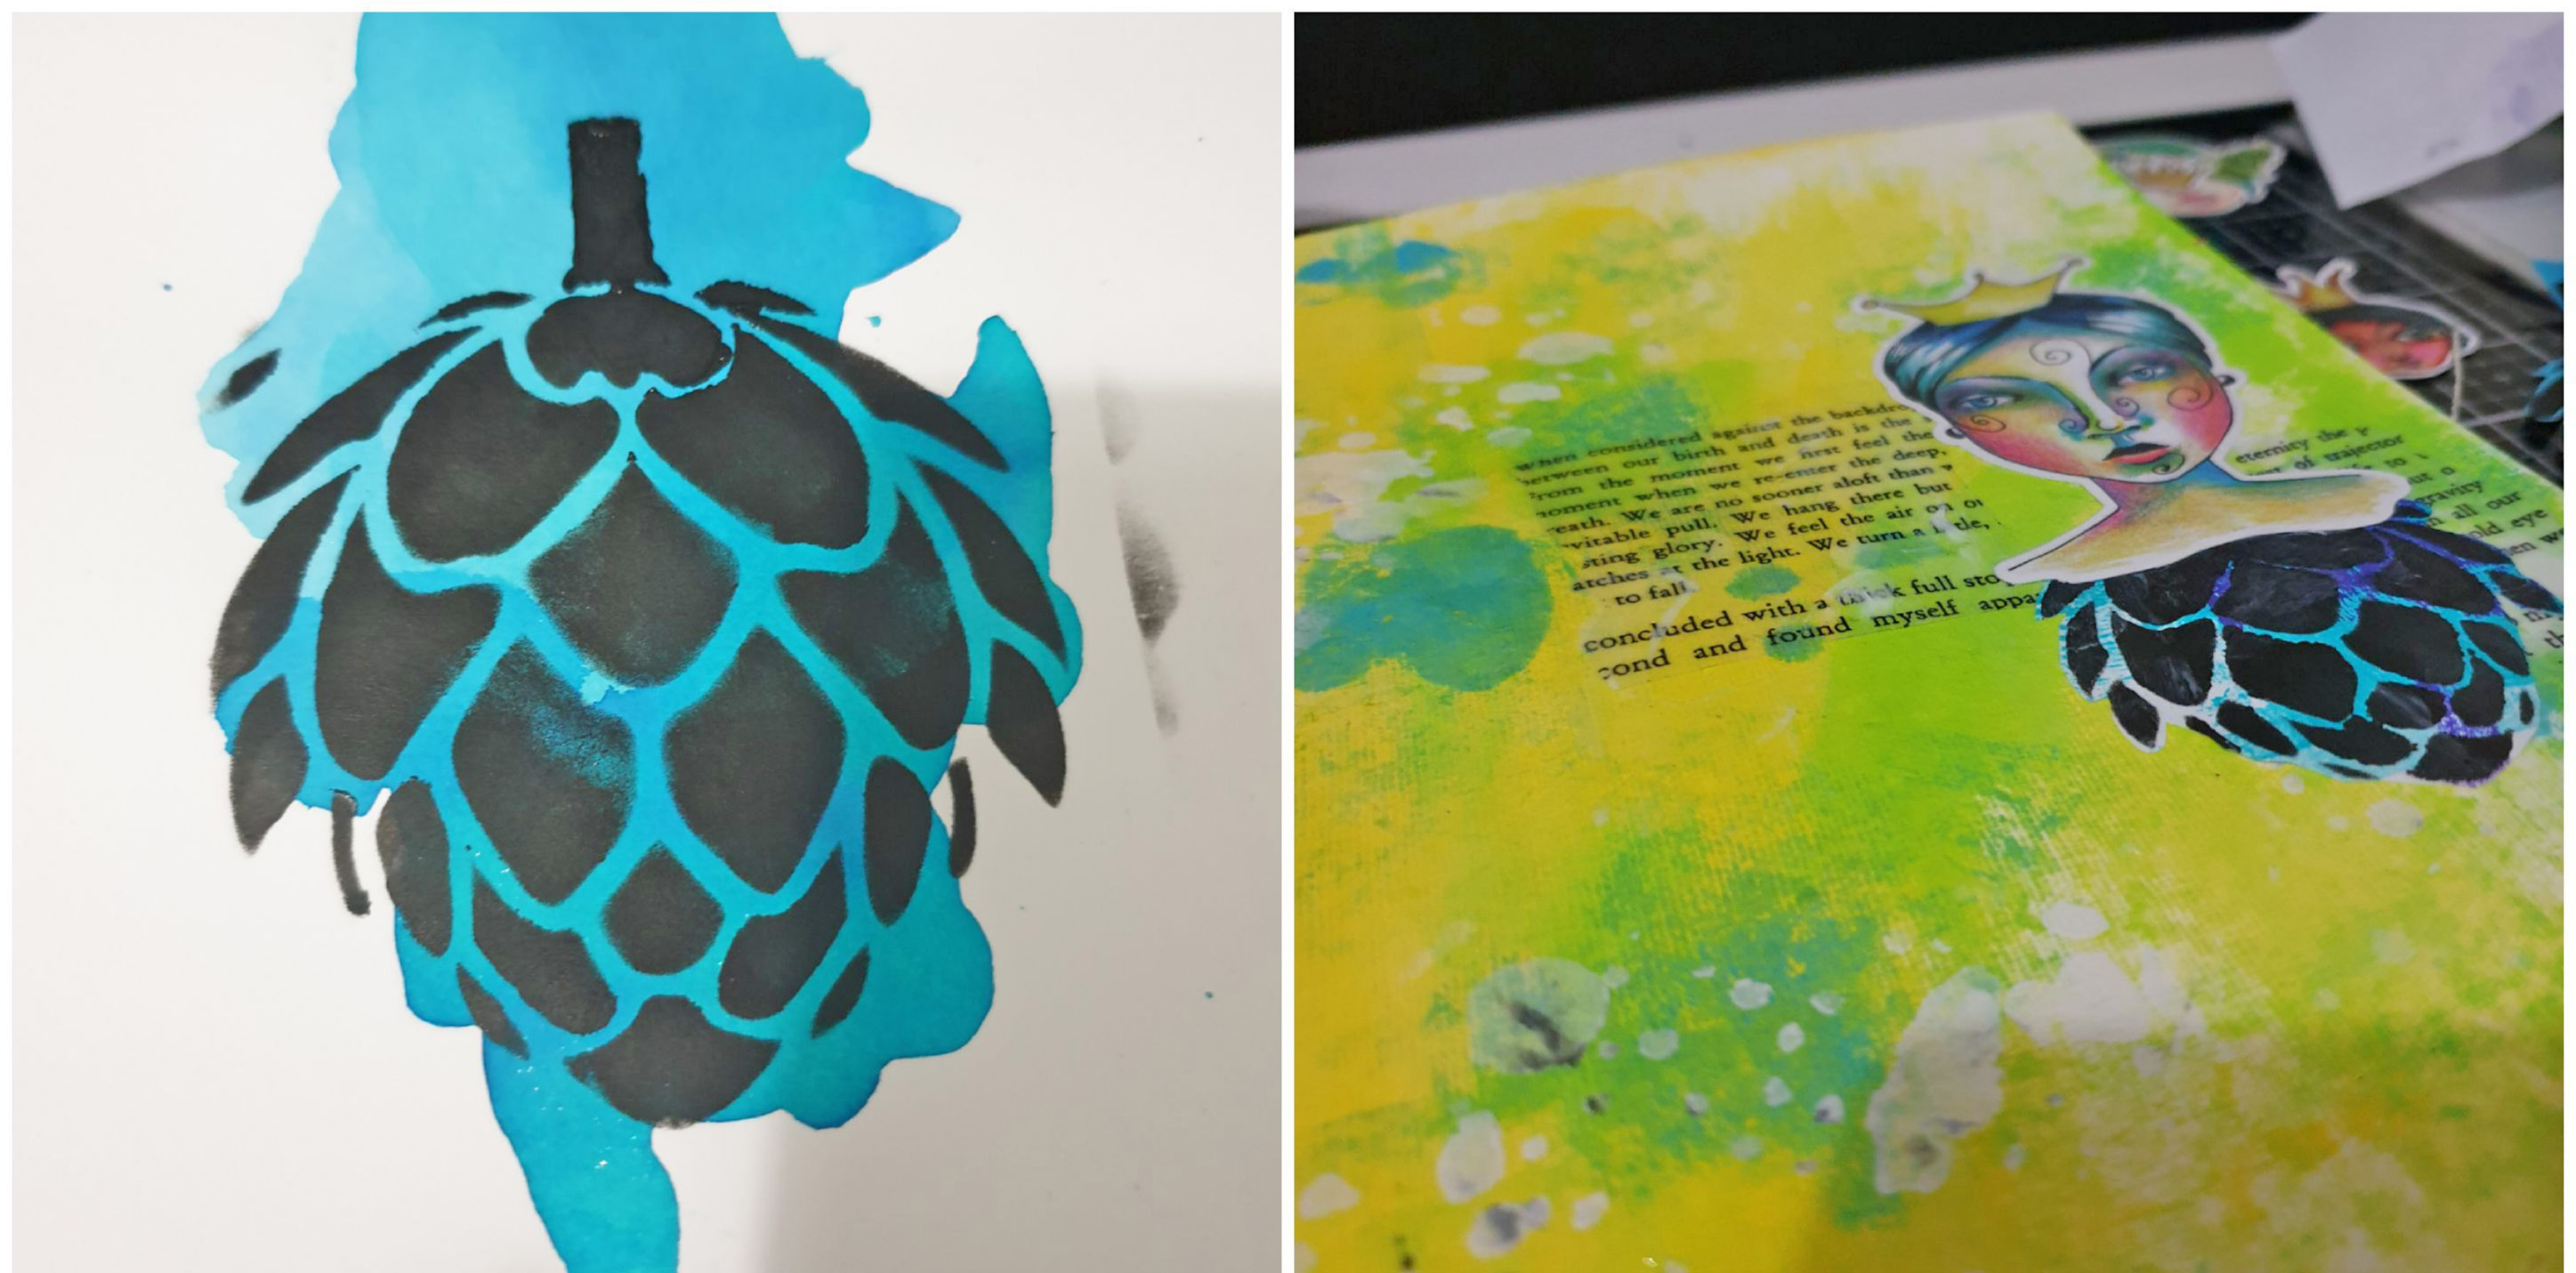
This page has started with me doing what one of my favourite Tubers, Cee Cee's Creations, calls warming up.  Just laying down some colour and doodling.   Once I started I thought that the colour palette went really well with the new release.
I have coloured all pieces of chipboard in with some Posca Pens and added a bit of shimmer to the Llama.   I popped some chipboard under my photo and layered the pieces under and over top of this for a 3d effect.
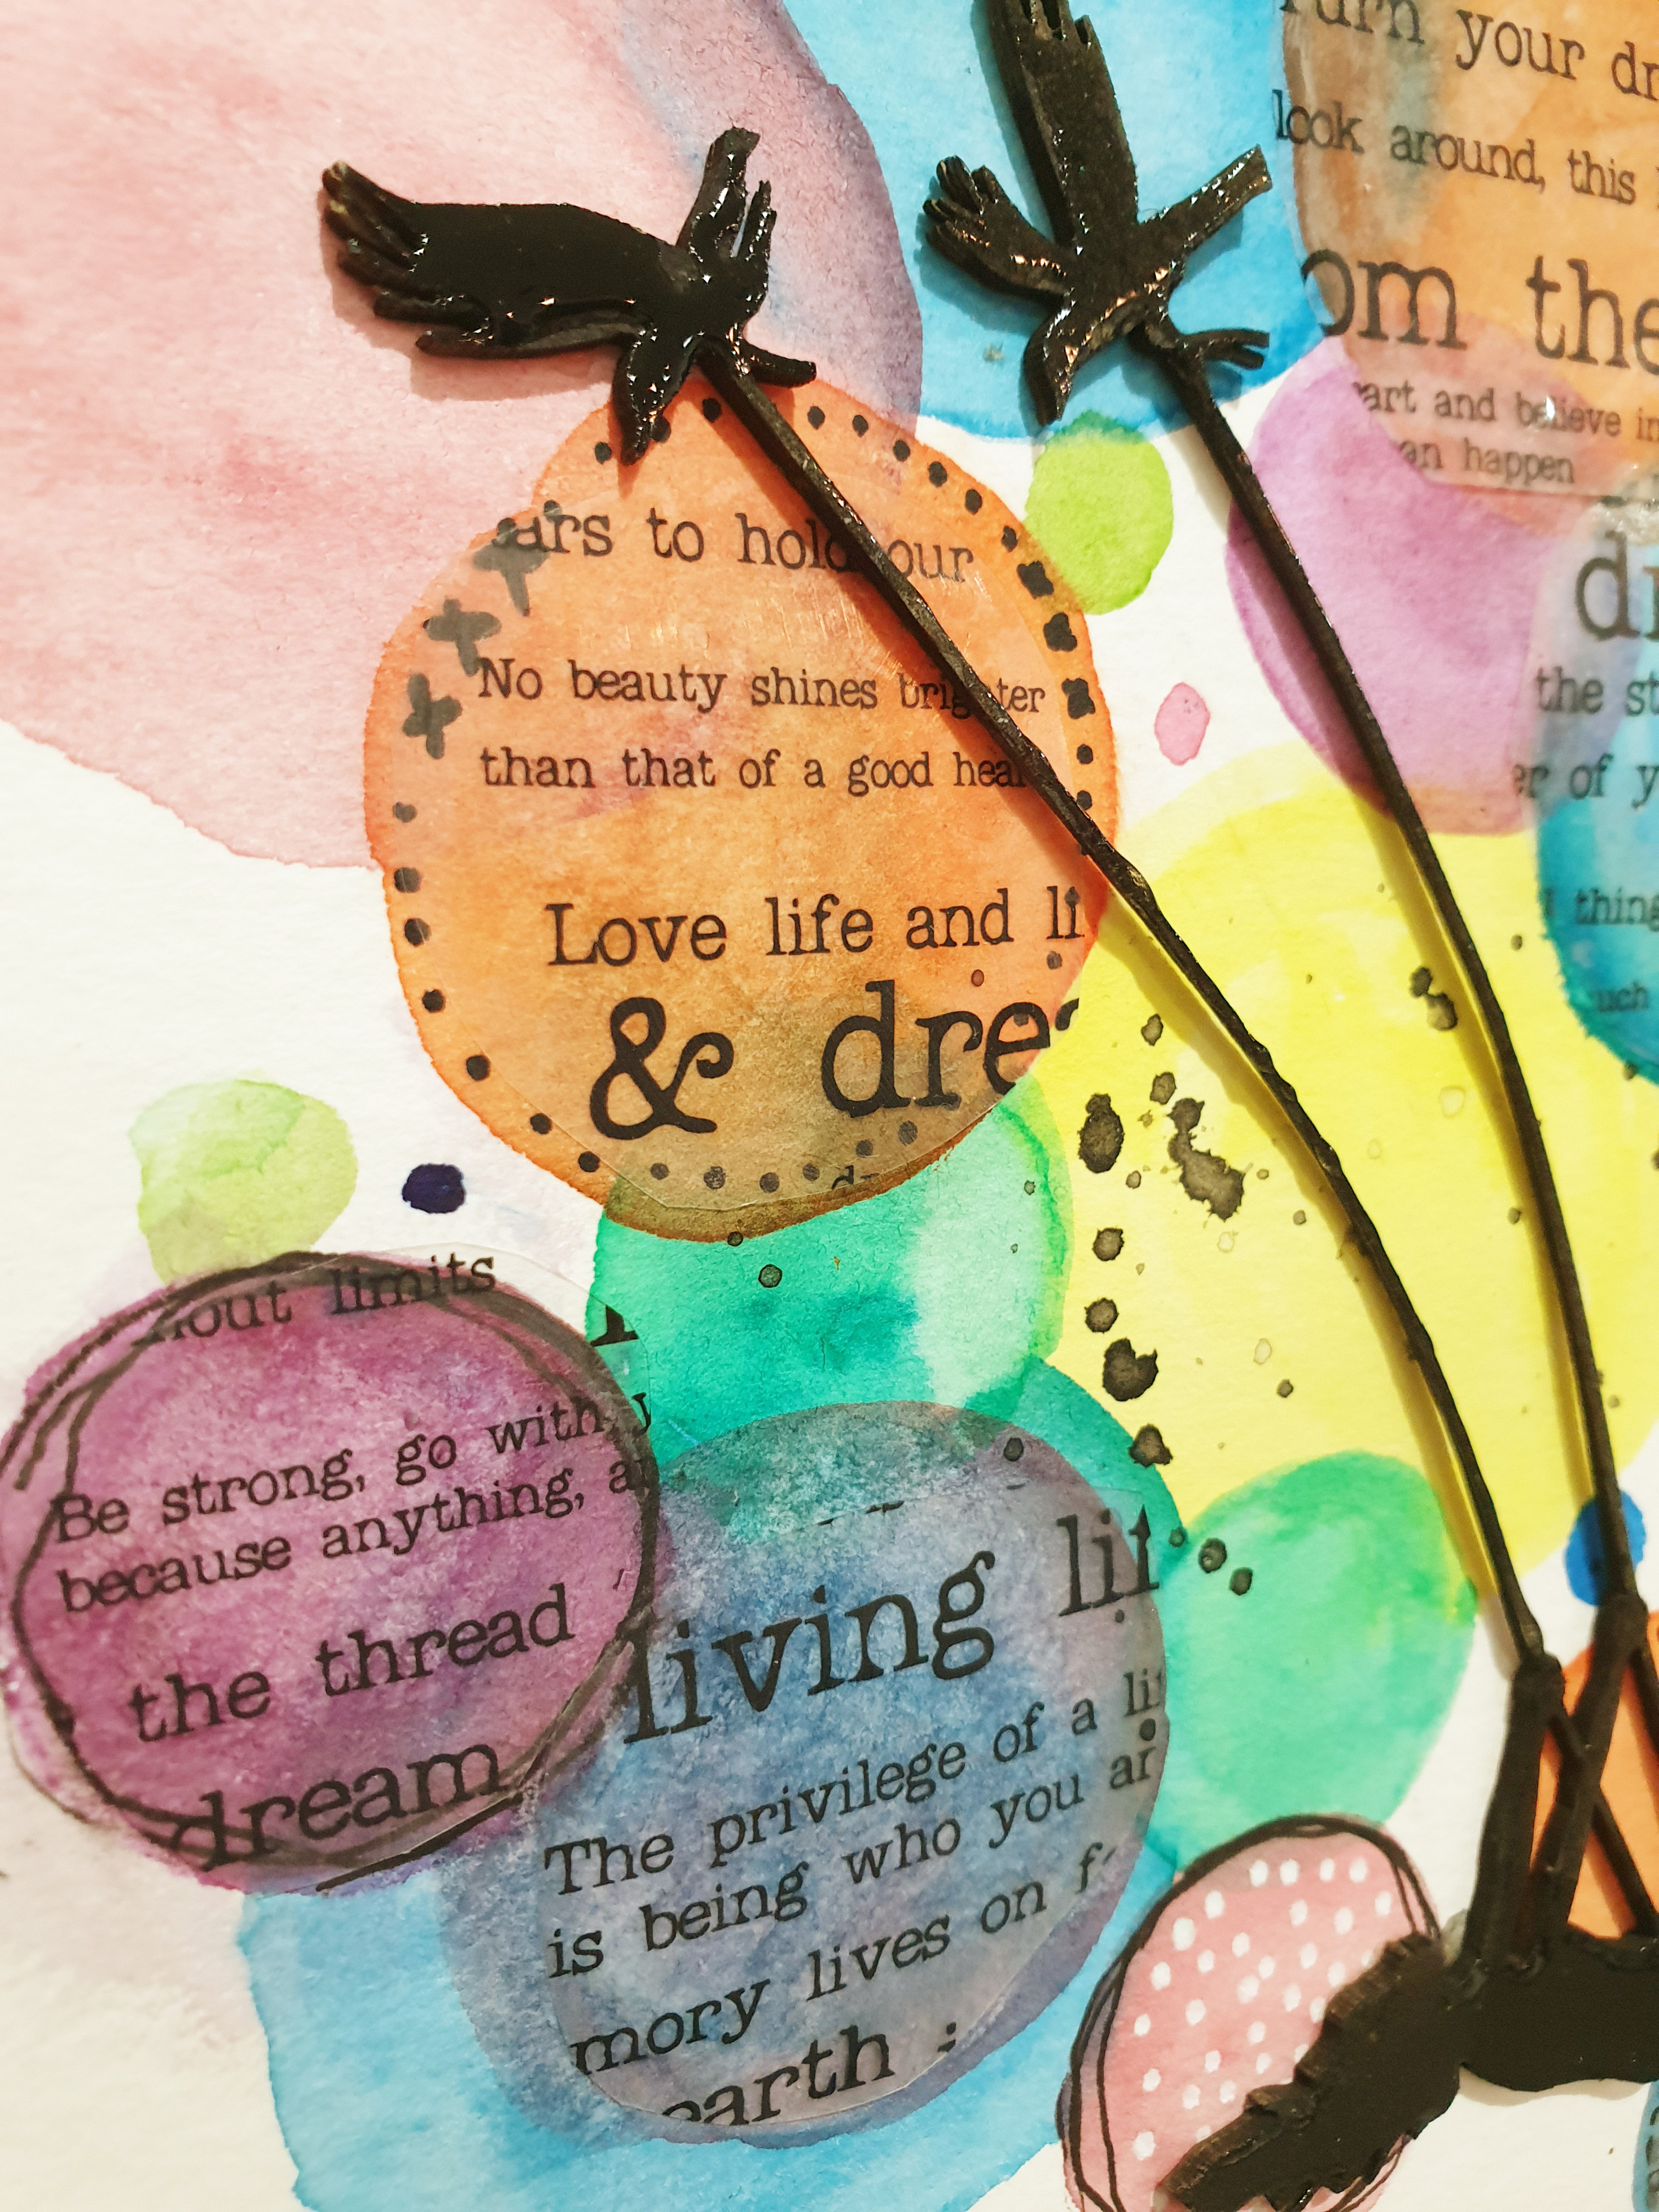
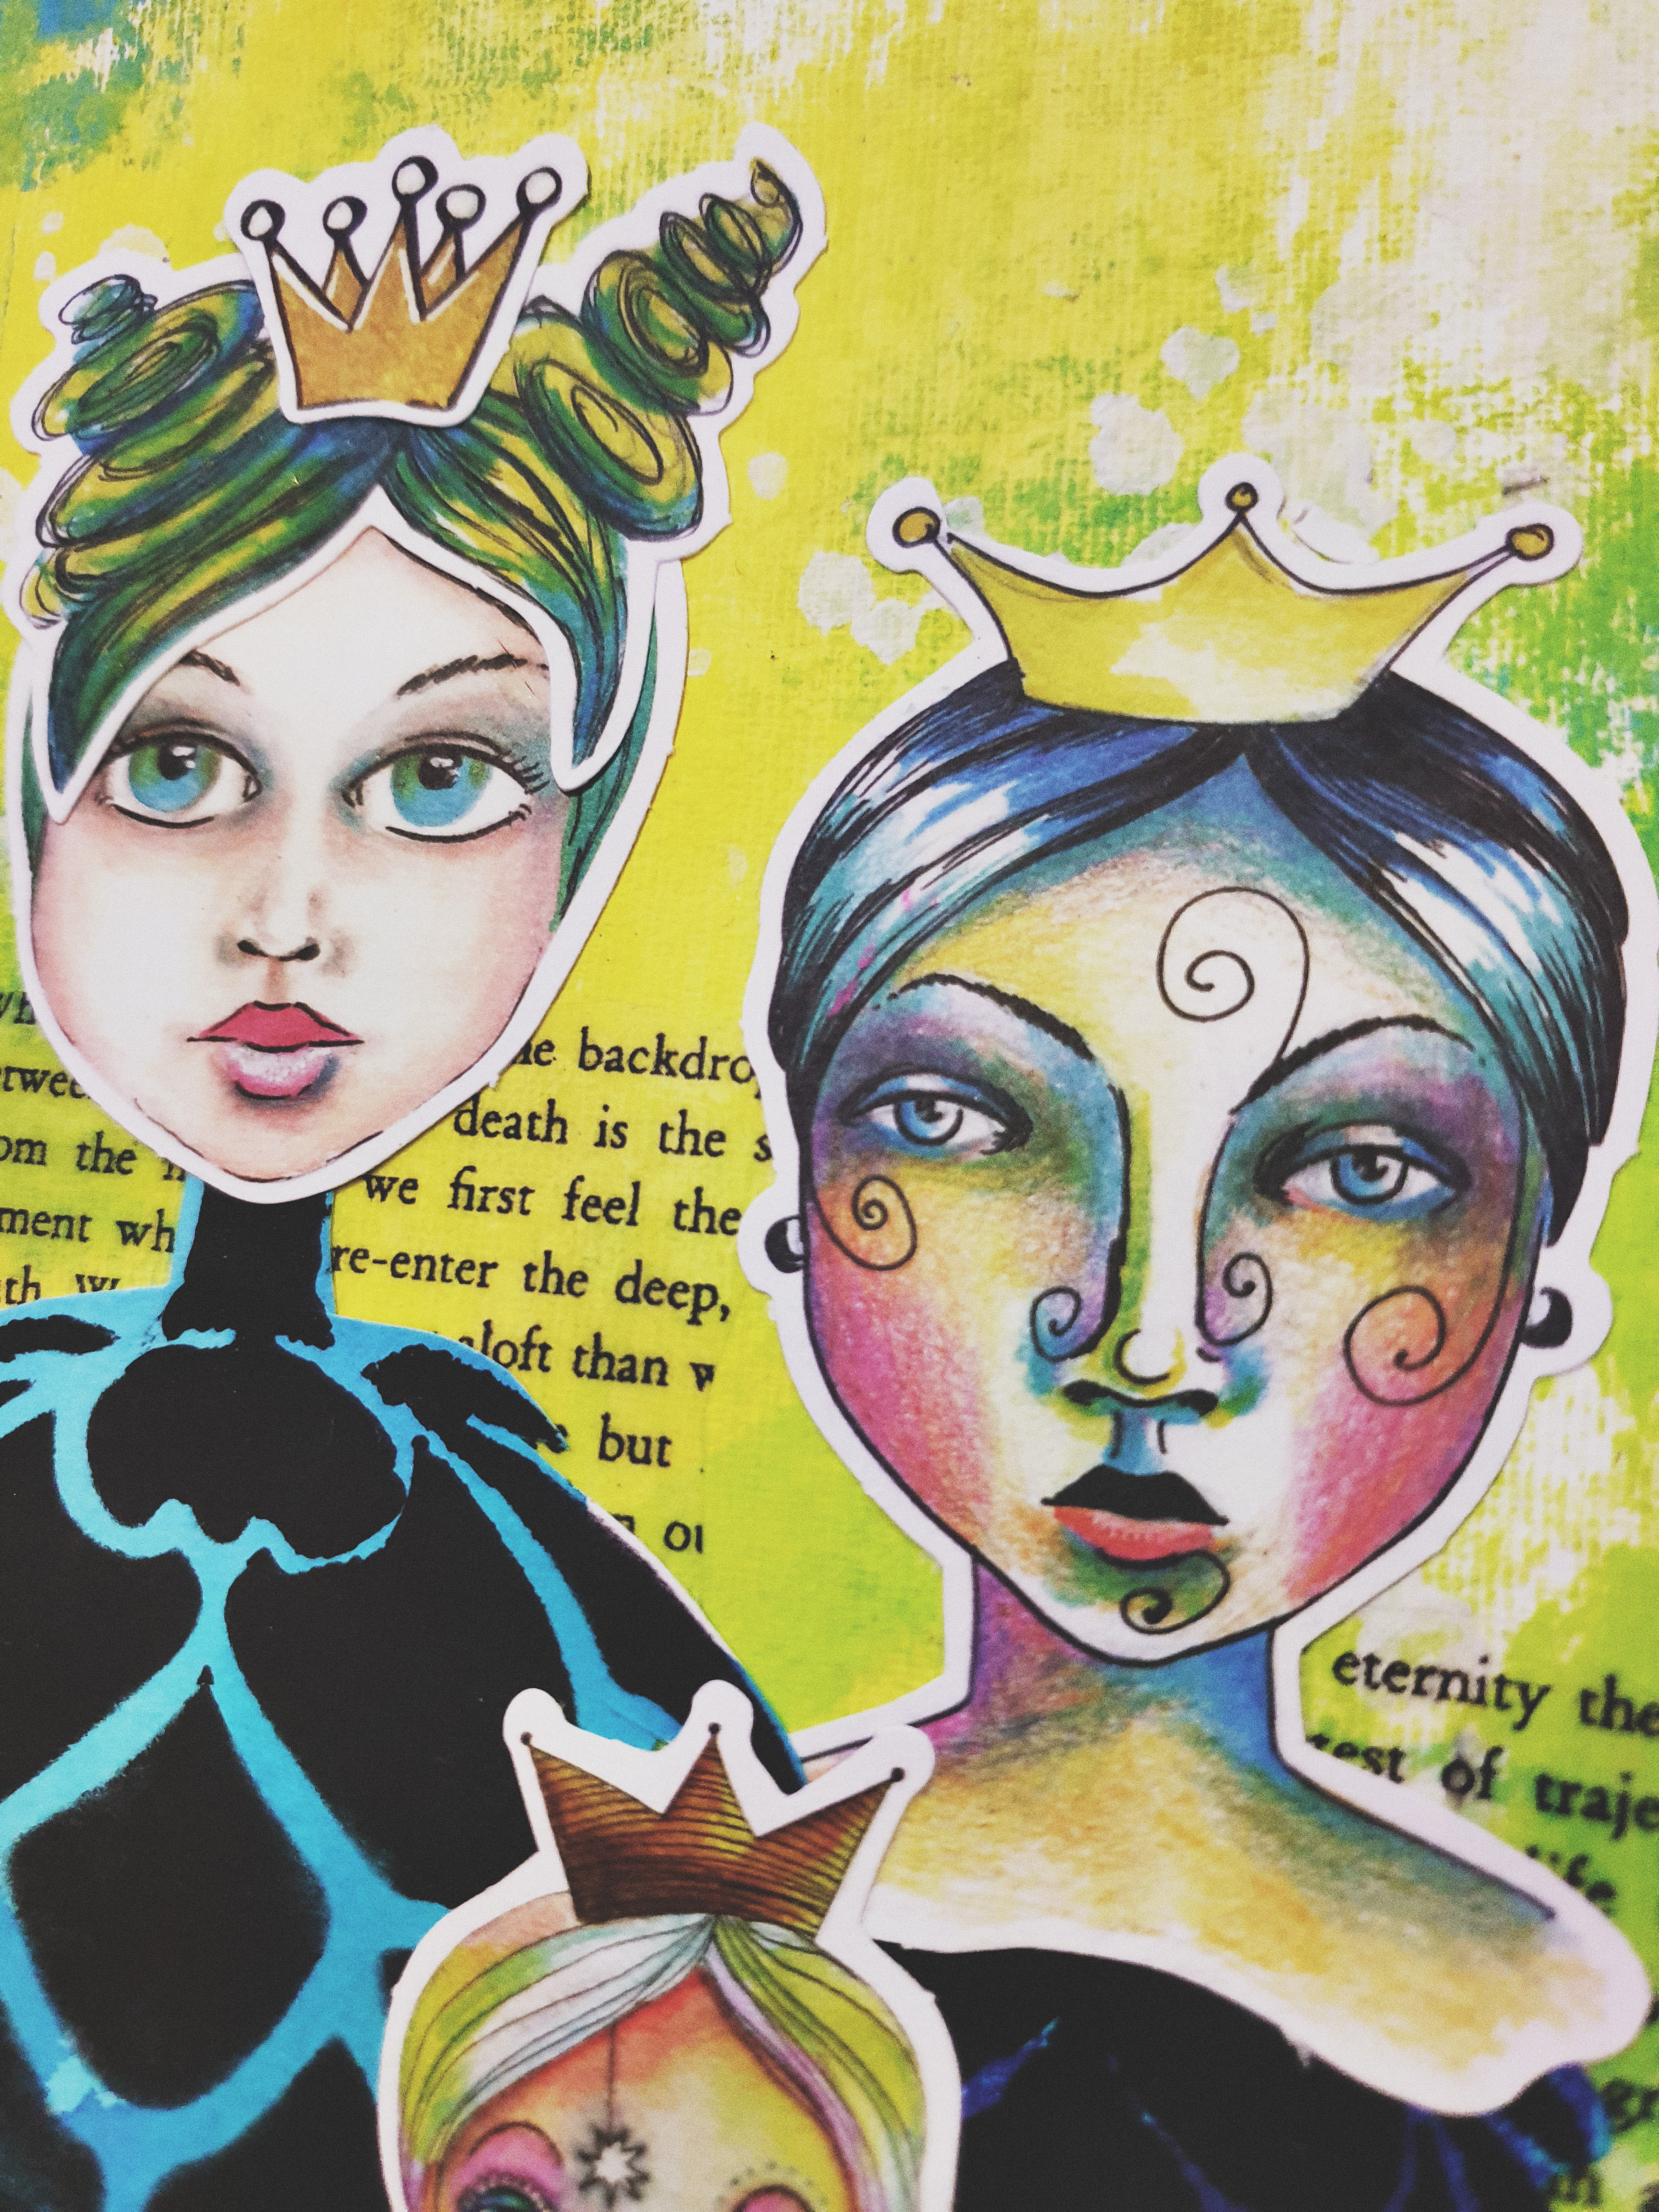
Just under the top of the pic I have added a quote from the Dream Transparency.
Cactus  Llamas   Dream transparency
Beautiful Soul
My next page started out similarly, just a play with some water colours and it evolved from there.
Over the circles I have layered some pieces cut from the Dream Transparency.  These have been stuck down with Matte Medium.  I also added a quote from this to the bottom of my page.
The main focal point is the gorgeous Swing Girl with Birds chipboard.  I just painted this one in black for a silhouette look and added a coating of glossy accents.
Swing girl with birds    Dream transparency

post signature

02 July 2019

Unicorn canvases for Scrap FX

Hello everyone, today I am featuring one of my favourite stencils from this months release.
I've made 3 little canvases with this one stencil but have used it a few ways.
After I painted my background, I used a waterproof marker to add the ears and eyes of the unicorn.  The horn was added with some moulding paste and this water painted with Stickles for some added sparkle.
I made the crowns a couple of different ways.  In the first pic I have laid the stencil on some plastic and added some paper clay and sat aside to dry.  I have then used moulding paste with the crown, just popping this on a scrap piece of card.  Once dry, I cut these out and bent them into a little curvy head shape.  I opted to use the moulding paste and cardboard crowns, I was able to manipulate the shape of these ones a little more.
I've used the same technique on the unicorn fringes.  These were coloured with acrylic paints and then moulded around the end of a paintbrush for a 3d look.
Create a Unicorn stencil

post signature

16 June 2019

Paint Long and Prosper and a mixed media stand for Scrap FX

Hi, thank you for joining me again this month.  Today I'm sharing a simple art journal page and and little off the page project.
After painting my background, I have adhered some Bookprint Transparency to my background.  I just cut random pieces of this and used matte medium to stick it down in 3 places to form a visual triangle.
I've then taken one of my scrap pages that I started a background on a while ago that I wasn't happy with.  I think I've said before that I always keep these to re purpose them for future projects.   I've used a sponge and black paint with the Flower Buds Stencil and once cut, used these to make the bodies/dresses of my Queens.
For my title I have cut a strip from the Art Words Transparency and painted behind this with a posca pen.
Flower Buds stencil  Bookprint transparency  Art Words transparency
My next project began with a desk stand that my friend Deena Otway gave a few of us at a retreat a couple of years ago.  I finally got around to painting it and love how it's turned out.
After giving it a couple of coats of chalk paint I have used the Paint Brushes Stencil and black paint on the ends of the stand.  I then coloured each brush with paint pens and went over the top of this with the stencil again to neaten the finish.
I added a paintbrush to the front and also the word Create from the Create with Passion Stencil.
I love it so much that I'm going to make a permanent spot on my desk for it.
Create with passion stencil  Paint Brushes stencil
Hope you've been inspired.

post signature

01 June 2019

4 for Scrap FX

Hi, thanks for joining me today as I share some of this months fabulous new releases.  Perfect timing for a pic of one of my gorgeous nephews who just celebrated his 4th birthday.
Some watered colour with Distress Inks started this one off.  The Numbers Silhouette has then been cut into 3 pieces to make a visual triangle and .was then adhered to the page.  I coloured in the number fours to show Eli's age.
The chipboard Star Outlines have been coloured with posca pens with some spots and stripes added for visual interest.
The Happy Birthday Frame has been glued to the photo and then cut around the edge when this was dry.
Along the edges I have stamped using the Numbers Crunch Stamp and added some more Numbers Silhouette.
Hope you've been inspired.
Star Outlines Numbers silhouette SMALL
Number Crunch stamps Happy Birthday frame


post signature