Print

30 August 2018

Adore, for D-lish Scraps

Hi everyone, thank you for joining me again with another share.  
Today I have another page that was started as a gelli printed page.


I decided to use a black and white photo on this one for a more dramatic and monochrome look.  


I started my cluster with some Punchinella and Wordfetti, sort of faux joining it together with a Wooden Peg.


For my title I used a Chipboard Word.  I have heat embossed this with a couple of colours.


Under the bottom corner of my photo I have tucked in a piece of Doily which I also heat embossed and a Creative Cut.
A few D-lish Dots are scattered around the photo.


Hope you've been inspired.

post signature

24 August 2018

Love for Colour Blast

Hello again.  Today I am sharing a layout with a few of my favourite things.


I wanted to make an ombre type background but wanted it to blend seamlessly.  I mixed some Deep Water Colour Paste and Just Blue Colour Paste to create a shade that is in between the 2 colours.
I've mixed a little of these up on a palette, blending until I achieved a solid colour.


I've then swiped a line of each colour, darkest to lighest, with a plastic card across my page.


I had trimmed a cm off the edges of my paper with the intention of creating a frame for it.
On a 2nd piece of cardstock, using the same plastic card, I made a border with the left over mix of Colour Pastes.  To make it more cohesive with the main piece of layout, I've then swiped over this in a couple of places with the Deep Water and Just Blue Colour Pastes.
Once this was dry, I adhered my other piece of card to the top.


For my title I have layered on Envy and Sunshine Colour Embossing Powder.
For this I gave the chipboard 3 coats of Envy.  Once the 3rd layer was melted, I carefully sprinkled some Sunshine Embossing Powder in little patches across the word, heating it as I went.  I repeated this until I was happy with  how it looked.

I love the look of Embossing Powder when it's combined with more than one colour.


Before I assembled my layout I splattered the page with some Marine Colour Artist Ink and some Lemon Zing Colour Mica Powder.  I mixed the Mica Powder in a little binder to help it stick to the page.


post signature

20 August 2018

For D-lish Scraps

Hello everyone, hope you enjoy what I have to share today.

It's started with some gel printing on a piece of black card.
I have used a Kinder Kreations chipboard frame and heat embossed it with Colour Blast embossing powder in colours that matched my background.
This set comes with 2 round pieces and some loose flowers.


To embellish my photo cluster I have layered some of the chipboard flowers, a couple Colour Me Cuts - Butterflies, which I chose not to colour and some Sequin Flowers.  There is also a piece of paper doily tucked under the big butterfly.


To finish off I've added a few Faceted Enamel Dots.


Hope you've been inspired. 
post signature

10 August 2018

D-lish Scraps Inspiration Board August


Hi Everyone, today I'm sharing my take on this months Inspiration Board.


I took my inspiration from the first picture.


I have used some gelatos to colour some Creative Cuts Flowers and left a few white.


I layered these around my photo with some Pastel Petals and Little Birdie flowers

To balance out the cluster, I have popped a Bitty Bow Clip at the top of my photo.


Please join us this month
You can find all the details you need to enter under the 'Current Inspiration Board & Rules' tab at the top of the D-lish Scraps page. Entries need to be linked by no later than midnight on the 31st August, to go in the running for the fabulous prize on offer.

REMEMBER, you can also enter your pages on our Facebook Page, The Scrap Suite.


post signature

smile for Color Blast

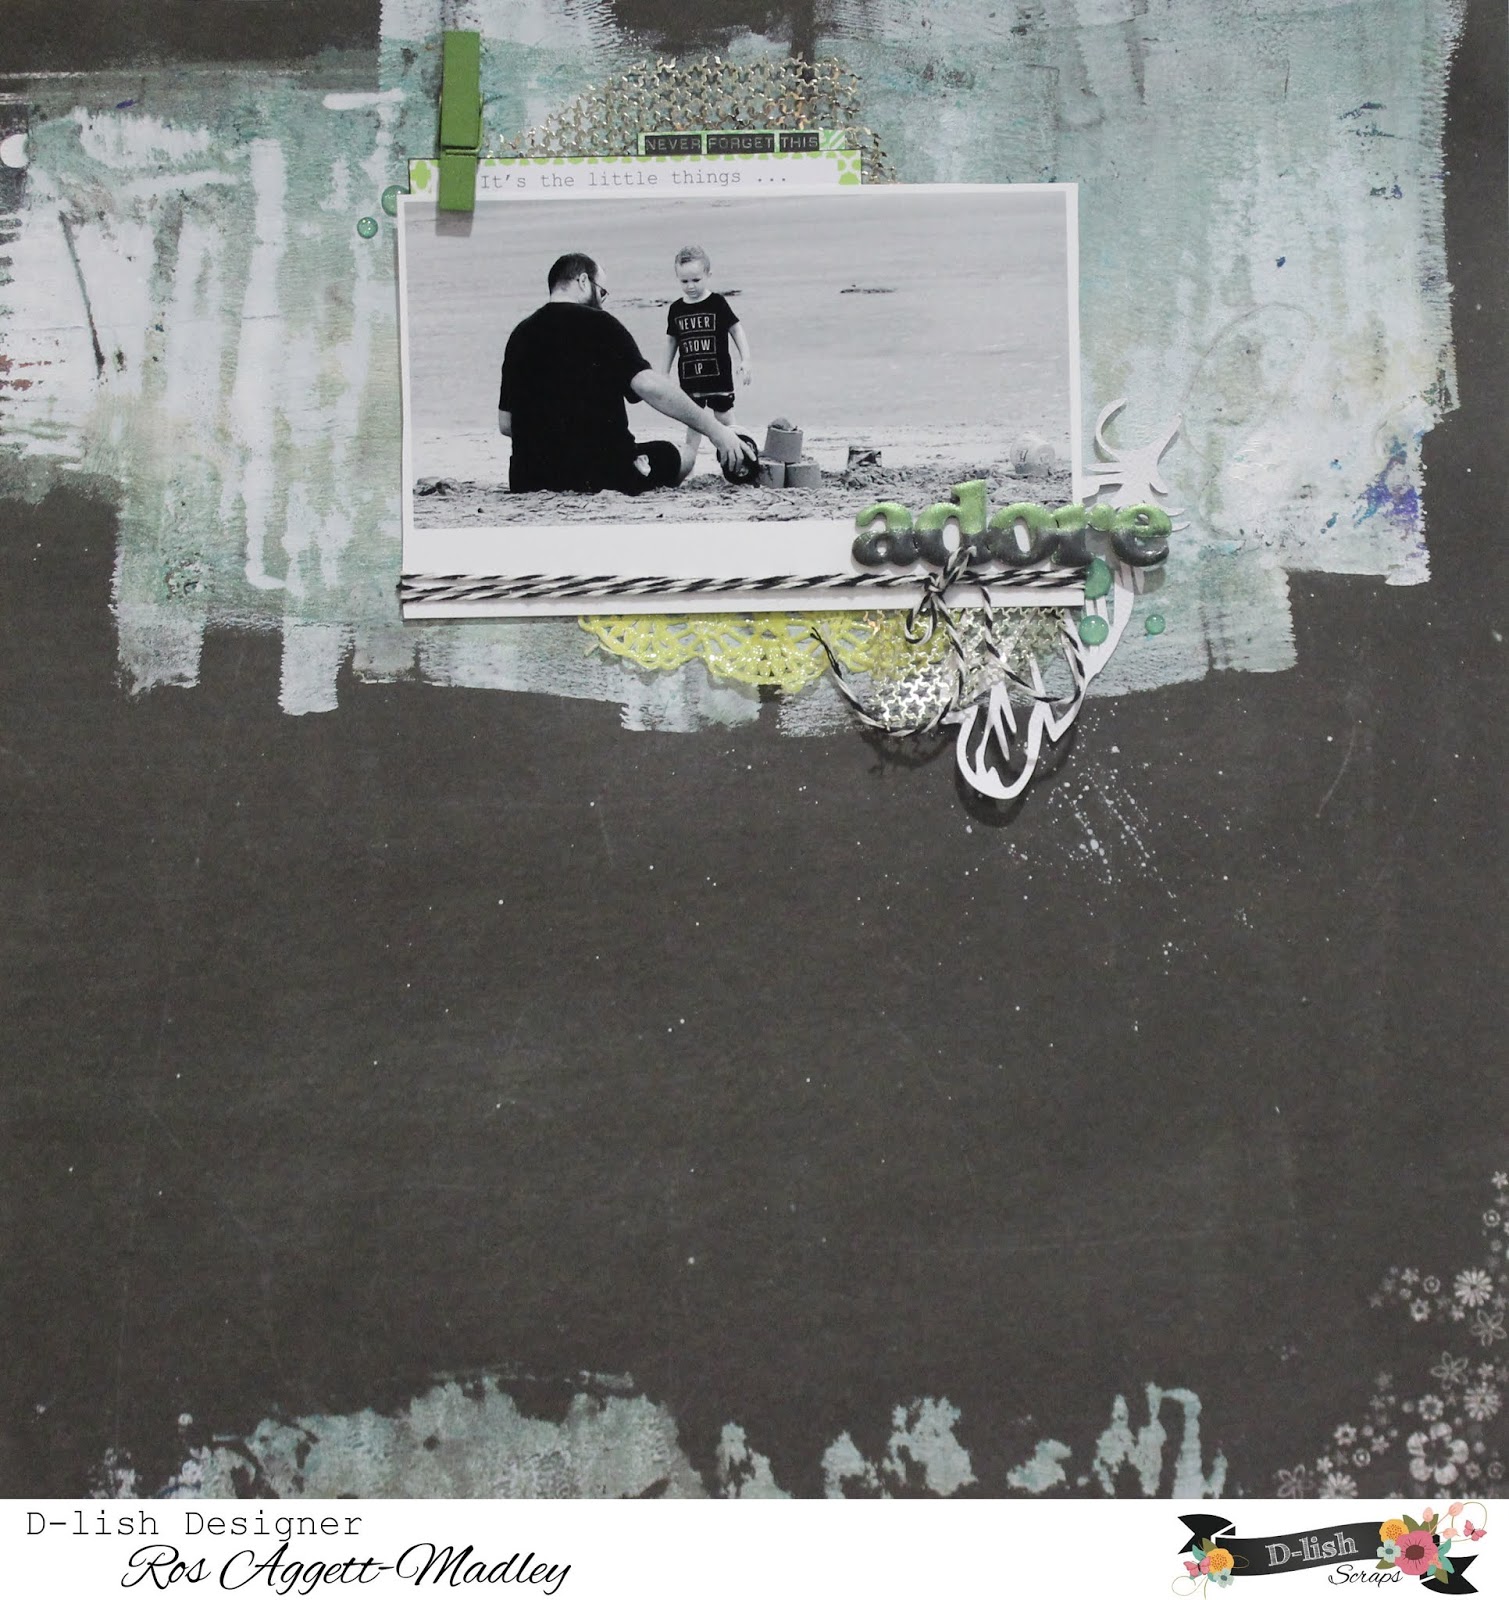
Hello (big, big wave) from me.  I'm very excited to have joined the Colour Blast team and super excited to share with you my first project.


My page today features Colour Embossing Powder.
That's it, nothing else.
I thought I might share a few different techniques that you may never have tried or maybe just not used for a while.


The title on my layout was done first.  I have laid down a whole heap of  Envy Embossing Powder on the the bottom corner of my page.  Nothing else is needed for this, the melting of the powder will adhere it to your page.
Because there's a whole heap there, not being held by anything, you need to heat the powder until melted by holding your heat tool under your page.  Moving it slowly until all melty and liquid.  Whilst the powder is still hot, press your stamp into the melted powder and hold down firmly for about 30 seconds.
You can't muck this up.  If it's not how you wanted it, reheat and melt it again until all the impression has gone and stamp again.
I used a clear polymer stamp but have seen this technique also done with red rubber.


You may notice that your page buckles a little when the Colour Embossing Powder is set.  I just very lightly warmed the powder from underneath again, being very careful not to melt the impression, and straightened my page out that way.
If you try and smooth it out when it's set, it cracks.
Lesson learnt.

I have place a long piece of chipboard on my layout.  I again used the Envy Embossing Powder.  This time I've stamped my chipboard piece with some embossing ink and then sprinkled over the Colour Embossing Powder.


Once melted with my heat tool, I have repeated this another 2 times.
I love my chipboard pieces to have a really thick, lush look so will normally emboss with 3 layers of powder.


I wanted to use some stamping as another feature on my page.  This was done by stamping some embossing fluid on a piece of vellum, heating and then fussy cutting.

My page is all about the Envy Embossing Powder and I knew that when I put it all together, it would still be lacking a little something.  
Another awesome thing about embossing powder, is the way you can pimp up your embellishments.
I've taken some old pearls out of my stash, stamped over the top of them with an embossing fluid stamp pad and covered in embossing powder. 


This ones a little messy to do but gives you perfect goodies for you layouts.


All done with gorgeous Envy Embossing Powder


Hope you've been inspired.

post signature